VOS.VirtuosoOdsUbiquityTutorialsAlbumGallery
Gallery Manage Resources Ubiquity Tutorial
This tutorial demonstrates how to manage albums and photos from OpenLink Demo server Gallery instance for user demo.
Ubiquity Commands Subscription
If not already subscribed, perform the following steps:
- Go to http://demo.openlinksw.com/ods/ods_ubiquity.html
- Click the button "Subscribe"
- Click the button "I know what I'm doing. Subscribe to it".
- As result should be shown message for "Subscription Successful" and we are ready to perform the steps from the tutorial.
Initial conditions
In order to be executed correctly the steps below, there should be ODS Gallery instance for user demo at the Demo server. If not existing, it is enough after log in to go to Gallery from the left ODS Vertical Main Navigation. This will cause automatically to be created ODS Gallery instance.
Basic Tutorial Steps
- Authenticate using ODS command mode:
- sid:
- Execute the command:
ods-host http://demo.openlinksw.com/ods
-
- Execute the command:
ods-set-mode sid
-
- Execute the command:
ods-authenticate-user demo password demo
-
- Execute the command:
- oauth: detailed description you can find here.
- sid:
- Execute the command:
ods-get-instance-id MyGallery
-
- As result will be shown the instance id. For the "MyGallery" instance this should be 21.
- Execute the command:
ods-create-photo-album 21 name Seasons
-
- As result will be shown message for successful creation of album object with id 8295
- Now let's add image to the created album.
Execute the following command:
ods-create-photo-image 21 album Seasons name flower.jpg sourceUrl http://farm2.static.flickr.com/1086/1213270932_75154bb19c.jpg
-
- As result will be shown message for successful added image as object with id 112364
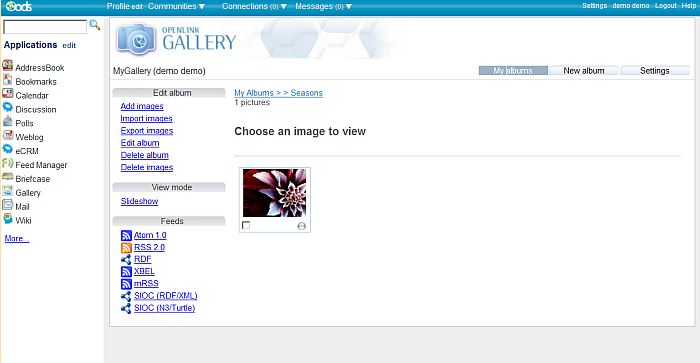
- From the Gallery UI for the created album, the image can be viewed:
-


