Simple Example Showing How To Browse a Collection Generated From Virtuoso Data Using PivotViewer.
PivotViewer is a new Silverlight control for visualizing and interacting with collections of data. The data collection must be a group of entities of the same type, described using the Collection XML schema, CXML. Virtuoso data will soon be easily exposed as a pivot collection using the upcoming FacetServiceToPivotBridge.
This document shows how to set up a very simple Silverlight application that makes such collections available on the Web. You can also play with an existing sample instance.
Prerequisites
- VisualStudio 2010 and Silverlight 4
- The address of the collections
- Virtuoso server to host the Silverlight web app
Steps
Step 1: Create the application.
In
- In the New Silverlight Application dialog box check the Host the Silverlight application in a new Web site box and ensure that the Silverlight Version is 4 or higher.
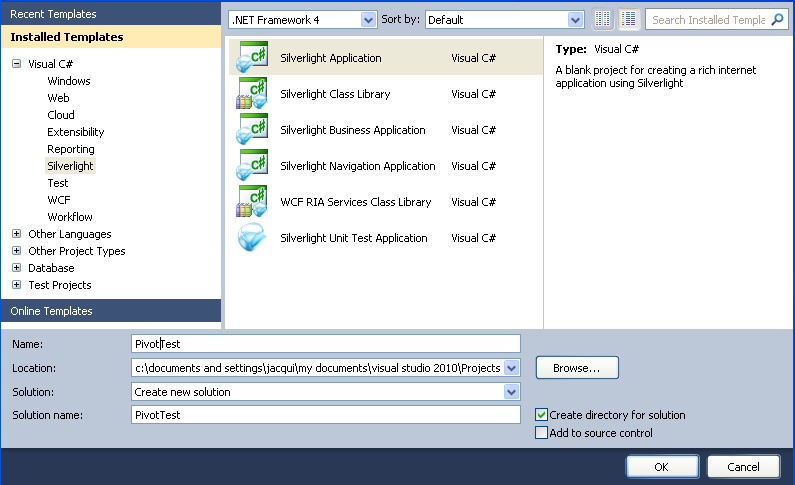
- Click OK.
Step 2: Add controls.
This step adds a text box and a PivotViewer to the application.
- In
MainPage.xaml
xmlns:pivot="clr-namespace:System.Windows.Pivot;assembly=System.Windows.Pivot"
- In the same file, replace —
<Grid x:Name="LayoutRoot" Background="White">

</Grid>
— with —
<Grid x:Name="LayoutRoot">
    <Grid.RowDefinitions>
        <RowDefinition Height="40"/>
        <RowDefinition Height="40"/>
        <RowDefinition Height="*"/>
    </Grid.RowDefinitions>

    <Grid.ColumnDefinitions>
        <ColumnDefinition Width="600"/>
        <ColumnDefinition Width="*"/>
    </Grid.ColumnDefinitions>
    <TextBlock Text="Pivot Collection Viewer" Visibility="Visible" FontSize="20" Grid.Row="0" Grid.Column="0" HorizontalAlignment="Left" VerticalAlignment="Center"/>
    <TextBox Name="urlBox" Grid.Row="1" Width="500" Height="30" Text="{Binding Mode=OneWay}" KeyDown="urlBox_KeyDown" Grid.Column="0" ></TextBox>
    <TextBlock Text="Type in a collection URL" Grid.Row="1" Grid.Column="1" VerticalAlignment="Bottom"></TextBlock>
    <Border x:Name="ContentBorder"
            Grid.Row="2"
            Grid.Column="0"
            Grid.ColumnSpan="2">
        <!-- The PivotViewer control -->
        <pivot:PivotViewer x:Name="PivotViewer" Visibility="Collapsed" />
    </Border>

</Grid>
Step 3: Add the event handler.
Once the URL of a collection has been typed into the text box, the PivotViewer opens the collection and is made visible.
This is done using the urlBox_KeyDown event handler.
We need to add this to the file,
- Open
MainPage.xaml.cs -
System.Windows.Pivot -
System.Windows.Pivot.Model -
System.Windows.Pivot.SharedUI -
System.Windows.Pivot.StringResources -
System.Windows.Pivot.Utilities
-
- Add
using System.Windows.Pivot;to the "using" block. - Add the event handler:
private void urlBox_KeyDown(object sender, KeyEventArgs e)
{
    if (e.Key == Key.Enter)
        PivotViewer.LoadCollection(urlBox.Text, string.Empty);
    PivotViewer.Visibility = Visibility.Visible;
}
- Build and run the code using the development server.
You should see a web page that looks like this:
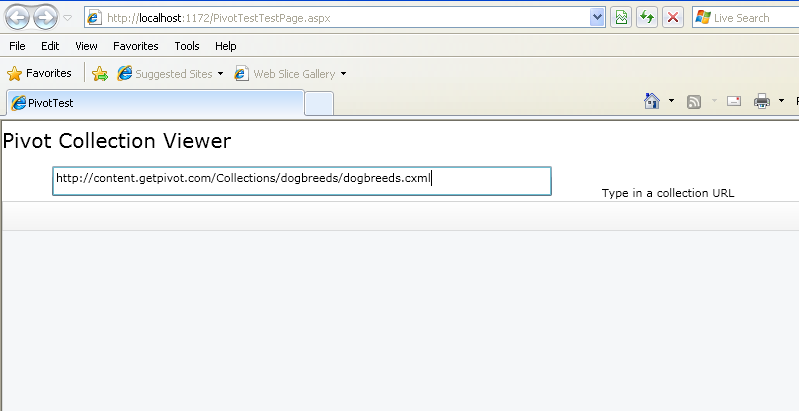
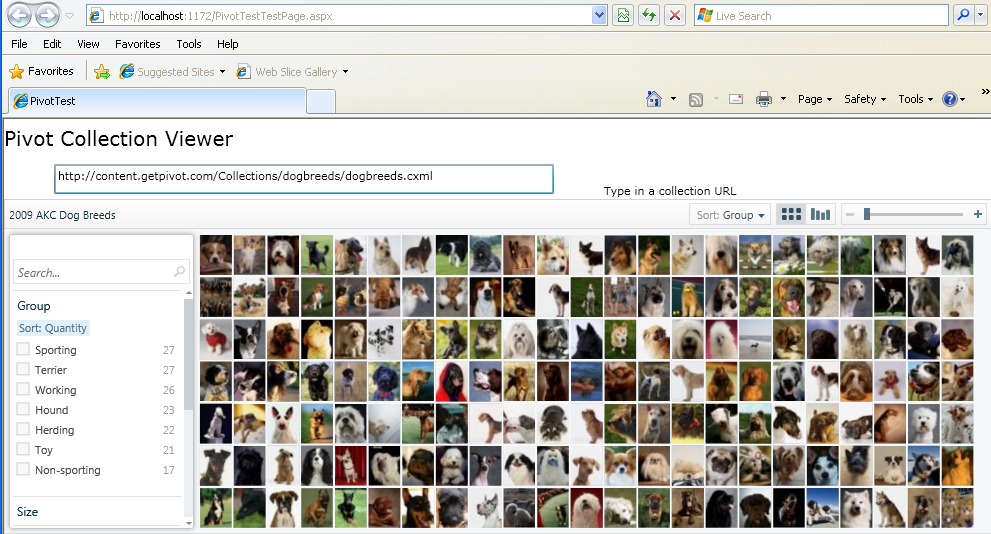
- Type the URL of a collection, e.g.,
http://content.getpivot.com/Collections/dogbreeds/dogbreeds.cxmlinto the text box. - The collection will be opened in the PivotViewer control.
Step 4: Save the application.
Publish the project from
- Right click on
PivotTest.Web - Select Publish
- Select File System for the Publish Method, and set the Target Location.
- Click OK.
Step 5: Set up hosting on Virtuoso.
You can host the project directly from the filesystem ...
- Copy the content of the Target Location (Step #4, above) to a new folder called PivotTest in the
$VIRTUOSO_DIR/vsp/folder of your Virtuoso Server instance. - Open the Virtuoso Conductor and click to the Web Application Server tab, and then the Virtuoso Domains and Directories sub-tab.
- Add a new directory to the default web site.
- Select None on the first page of the wizard.
- On the second page set Path to
/pivottestand Physical Path to the new folder you have just created under$VIRTUOSO_DIR/vsp/. - Set Default Page to
PivotTestTestPage.html - Click Save changes.
or from Virtuoso's DAV repository
- Open the WebDAV browser on your Virtuoso server.
- Create a new WebDAV folder and upload the content of the Target Location (Step #4, above) into it.
- Open the conductor and select the Web Application Server followed by the Virtuoso Domains and Directories tab.
- Add a new directory to the default web site.
- Select None on the first page of the wizard.
- On the second page set Path to the name of the new WebDAV folder and check the Physical path is a WebDAV repository check box.
- Set the Physical Path to
/DAV/<new WebDAV folder name>. - Set Default Page to
PivotTestTestPage.html - Check the Override exec permissions in WebDAV checkbox.
- Click Save changes.
Now load http://<your server instance>/pivottest in your Web browser, and you should see the page you have just created.
CrossDomainPolicy.xml
The Silverlight security model only allows a Silverlight application to make HTTP web requests to the domain that originally served the application.
Cross domain access to collections on another server would require either a clientaccesspolicy.xml or crossdomain.xml file allowing access from the site serving the Silverlight application.
Live Demo Links
- Live Edition of This Pivotviewer Application
- World Leaders By Age -- demonstrates Pivotviewer URL using this example
- Microsoft's Pivot Collection Gallery -- cut and paste links into this example
- Kingsley Idehen's Pivot Collection Gallery -- cut and paste links into this example
Related
- PivotViewer documentation
- System.Windows.Pivot namespace documentation
- Pauthor - a command line tool for converting Pivot collections between a variety of formats and a C# library that allows you to build and modify collections in memory, as well as read and write them in a variety of formats.