
Managing a WebID-based SPARQL Endpoint
Introduction
The following guide describes the basic steps for setting up an SSL protected and WebID based SPARQL Endpoint (SPARQL-WebID). The guide also covers the use of Virtuoso PL functions and the Virtuoso Conductor for SPARQL endpoint creation and configuration. It also covers the use of cURL for exercising the newly generated SPARQL-WebID endpoint.
Note: SPARQL-SSL is alias of SPARQL-WebID
Create a WebID-based SPARQL Endpoint
- Setup the CA issuer and https listener
- Create the SPARQL-WebID endpoint:
- By installing the policy_manager_dav.vad package, which will create the SPARQL-WebID endpoint, or:
- Manually: Define the /sparql-webid endpoint on an HTTPS based listener (HTTPS service endpoint), for example using Virtuoso PL:
DB.DBA.VHOST_DEFINE (
	 lhost=>'127.0.0.1:443',
	 vhost=>'localhost',
	 lpath=>'/sparql-webid',
	 ppath=>'/!sparql/',
	 is_dav=>1,
	 auth_fn=>'DB.DBA.FOAF_SSL_AUTH',
	 vsp_user=>'dba',
	 ses_vars=>0,
	 auth_opts=>vector ('https_cert', 'db:https_key_localhost', 'https_key', 'db:https_key_localhost', 'https_verify', 3, 'https_cv_depth', 10),
	 opts=>vector ('noinherit', 1),
	 is_default_host=>0
);
- Setup the SPARQL-WebID endpoint and define ACLs using the Virtuoso Conductor
- Export your private key and its associated WebID based X.509 certificate from your Firefox browser or System's Key Manager into PEM (PKCS12) file
- If using Firefox use the menu path: Advanced->View Certificates, then click Backup for your certificate with name "mykey".
- The file "mykey.p12" will be created.
To disable password protection so that you can use this file in non-interactive mode (e.g.
with cURL and other HTTP clients) execute:
openssl pkcs12 -in mykey.p12 -out mykey.pem -nodes
-
Test the SPARQL-WebID endpoint with cURL (listening on default HTTPS 443 port):
- Note: In this example we use the "-k / --insecure" option with cURL since we are going to be using self-signed X.509 certificates signed by self-signed root CA.
- Import your key it via Conductor UI:
- Go to Conductor -> System Admin->User Accounts
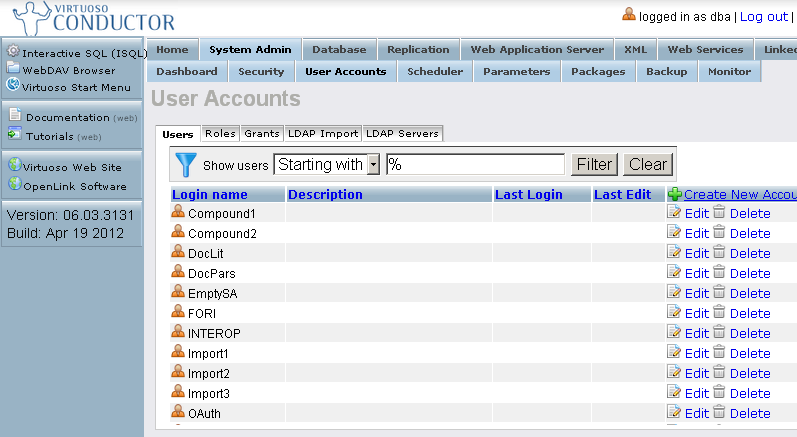
- Click "Edit" for your user
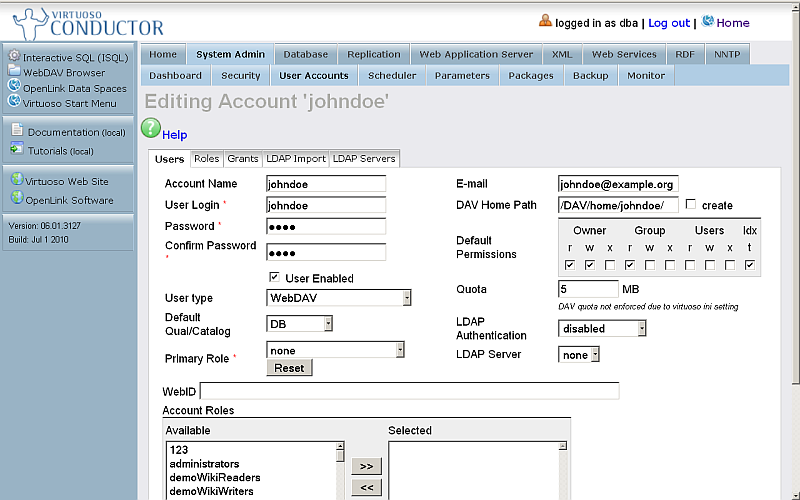
- Change "User type" to: SQL/ODBC and WebDAV
- Enter your ODS user WebID:
http://cname:port/dataspace/person/username#this

- Click "Save"
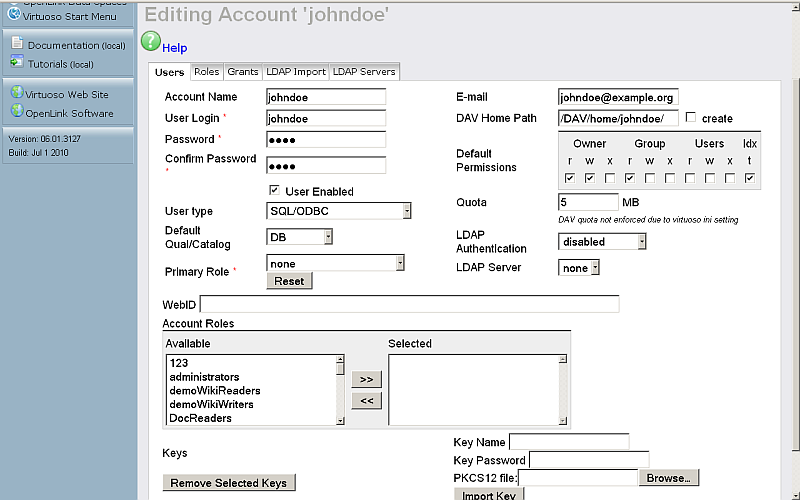
- Click again "Edit" for your user
- In "PKCS12 file:" click the Browse" button and select your key.
- Enter a local Key Name, for e.g., "cli_key"
- Enter key password

- Click "Import Key"
- As result the key will be stored with name for ex.
cli_key
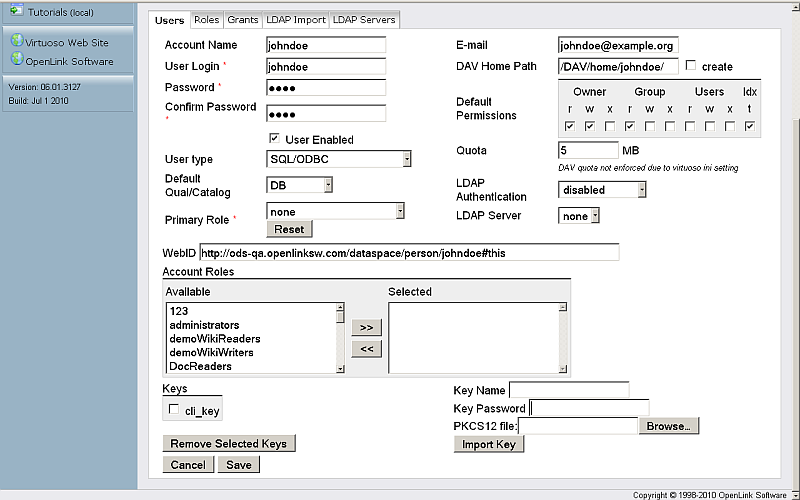
- Click "Save"
- Go to Conductor -> System Admin->User Accounts
- Test the SPARQL-WebID endpoint with http_client (listening on default HTTPS 443 port).
Demo Examples
Disable Default SPARQL Endpoint
Using iSQL
- To disable /sparql, execute:
DB.DBA.VHOST_REMOVE (lpath=>'/sparql');
- To add the endpoint again via PL, execute:
DB.DBA.VHOST_DEFINE (lpath=>'/sparql/', ppath => '/!sparql/', is_dav => 1, vsp_user => 'dba', opts => vector('noinherit', 1));
Using Conductor UI
- Go to http://cname:port/conductor .
- Enter user dba credentials.
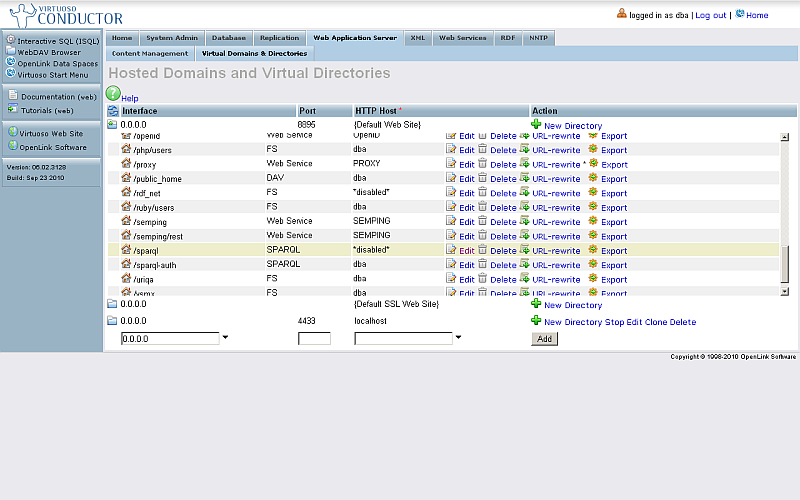
- Go to "Web Application Server" -> "Virtual Domains & Directories".
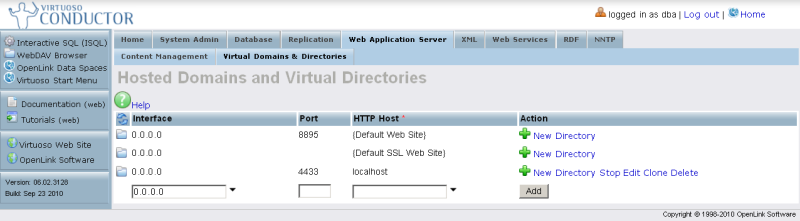
- Find the logical path "/sparql".
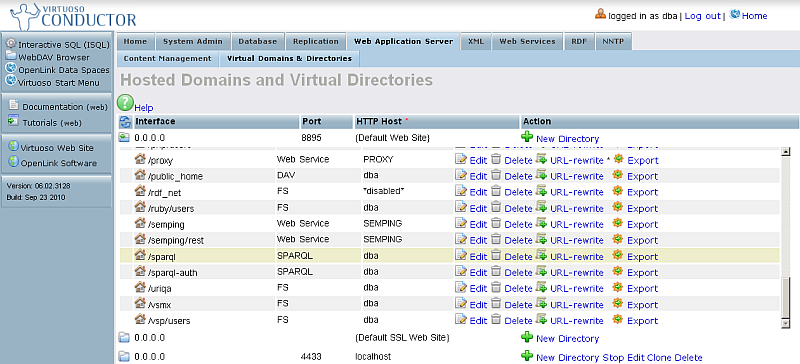
- Click "Edit" from the "Action" column.
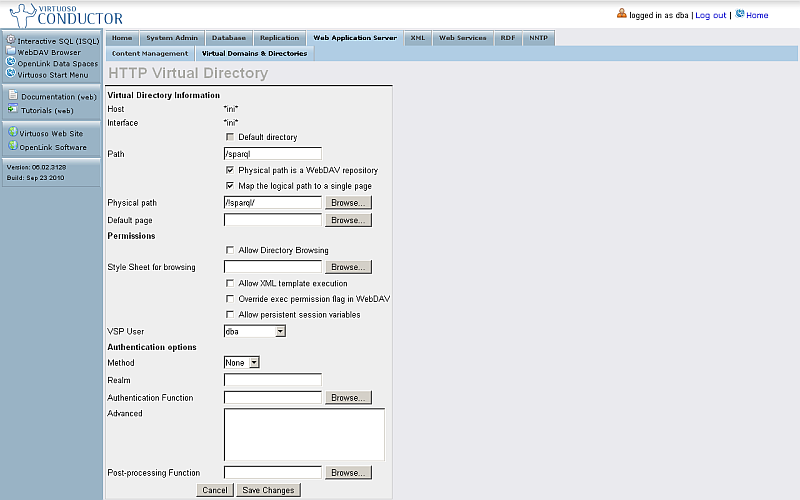
- Change "VSP User" to "nobody".
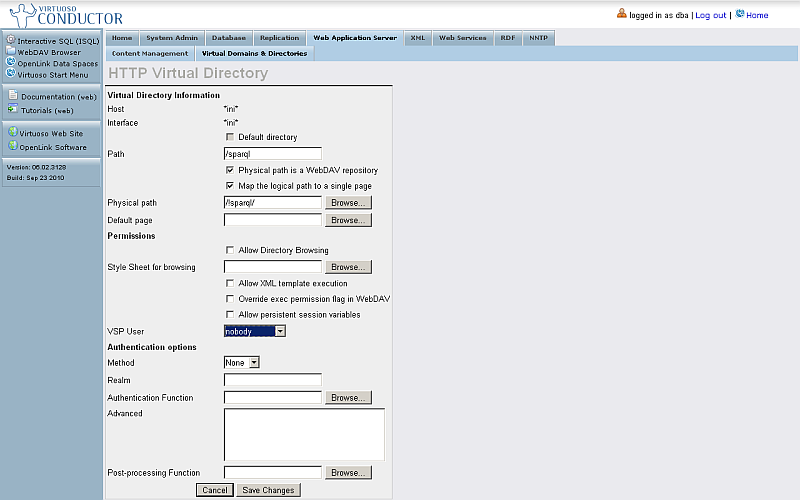
- Click "Save Changes".
- As result the SPARQL Endpoint should be shown as disabled:
Related
- Safeguarding your Virtuoso-hosted SPARQL Endpoint
- SPARQL Endpoint Protection Methods Collection
- Virtuoso documentation
- Virtuoso Tips and Tricks Collection
- SPARUL over SPARQL using the http://cname:port/sparql-auth endpoint
- Virtuoso Authentication Server UI
- Manage a SPARQL-WebID based Endpoint
- Configure Virtuoso instance as an X.509 Certificate Authority and HTTPS listener
- Configure Virtuoso+ODS instance as an X.509 Certificate Authority and HTTPS listener
- WebID Protocol Support in OpenLink Data Spaces.
- Manage ODS Datadspaces Objects WebID Access Control Lists (ACLs):
- Guide for Set up a X.509 certificate issuer and HTTPS listener and generate ODS user certificates.
- Setting up PubSubHub in ODS
- PubSubHubBub Demo Client Example
- Feed subscription via PubSubHub protocol Example
- Setting Up PubSubHub to use WebID Protocol or IP based control lists
- CA Keys Import using Conductor
- Generate an X.509 Certificate hosted WebID Guide
- Generate an X.509 Certificate (with a WebID watermark) to be managed by host operating system keystore
- Generate an X.509 Certificate (with a WebID watermark) to be managed by a browser-based keystore
- Using Virtuoso's WebID Verification Proxy Service with a WebID-bearing X.509 certificate
- Using Virtuoso's WebID Identity Provider (IdP) Proxy Service with an X.509 certificate
- ODS Briefcase WebID Protocol Share File Guide
- WebID Protocol Specification
- Test WebID Protocol Certificate page
- WebID Protocol Certificate Generation page