Virtuoso ADO.Net Data Grid Form Application
Introduction
This article details the steps required to create a simple Visual Studio 2008 Windows Form application with associated DataGridView control for displaying data in selected tables from a Virtuoso database.
Pre-requisites
- Microsoft Visual Studio 2008 SP1, which includes the ADO.NET Entity Framework runtime and associated tools
- A running Virtuoso Universal Server instance
Steps
- Launch the Visual Studio 2008 SP1 IDE.
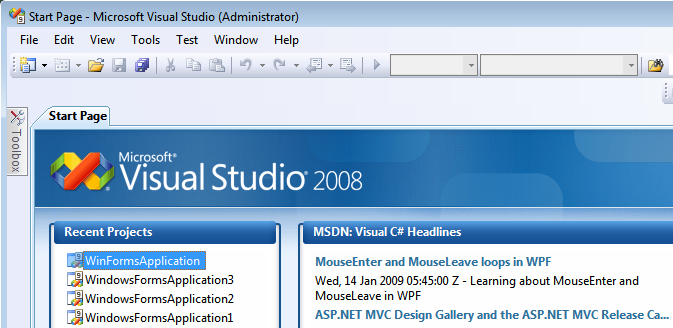
- Create a Web Application project by going to the File menu in Visual Studio and choosing New Project.
- When the New Project window appears, choose either Visual Basic or Visual C# as the programming language.
- Within the language category, click on Windows and select Windows Form Application from the right-hand panel.
- Choose a name for the project, for example
VirtuosoDataGridApp, and click OK. 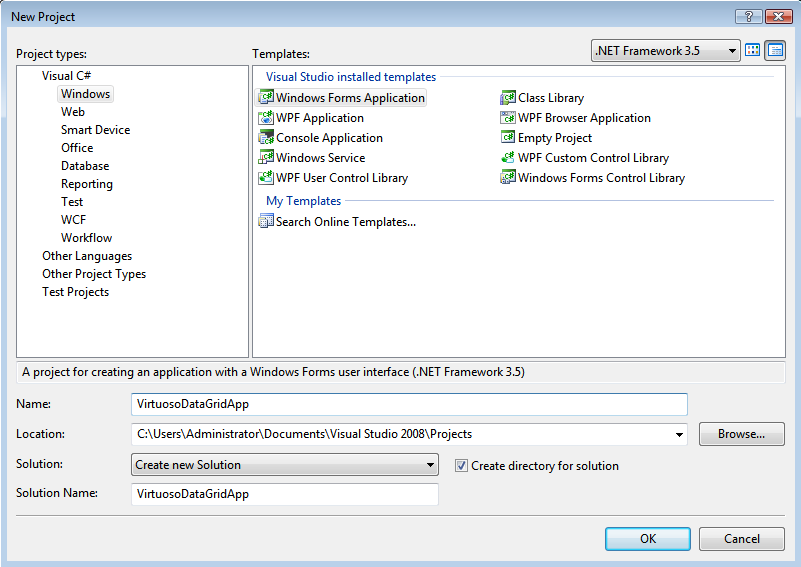
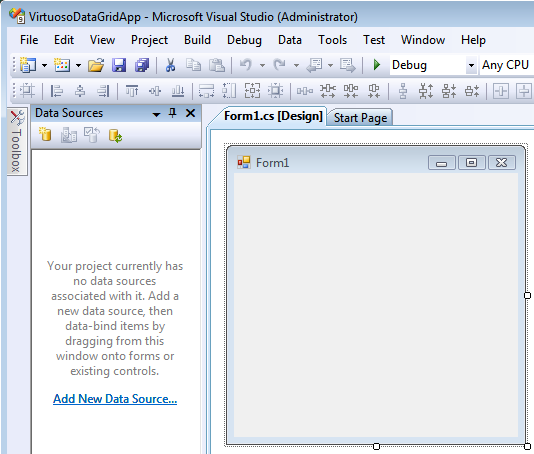
- From the Data, menu select the Show Data Sources menu item to display a list of available Data sources.

- Click on the Add New Data Source link to add a new data source.
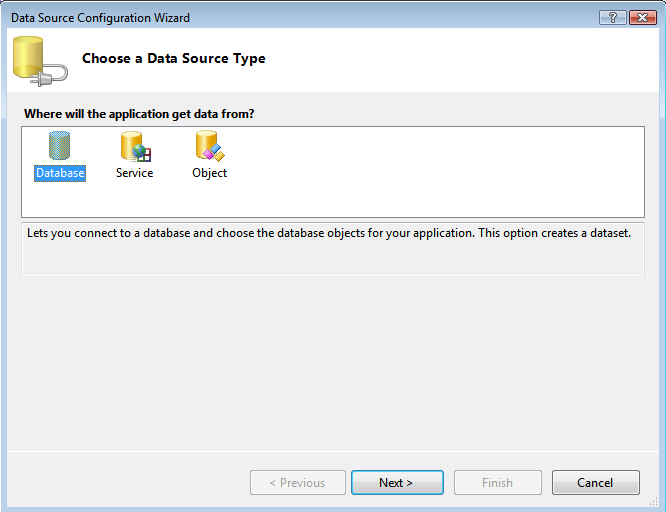
- In the Data Source Configuration Wizard dialog Choose Data Source Type page, select the Database data source type and click Next.
- In the Data Source Configuration Wizard dialog Choose your Data Connection page, select the New Connection button.

- In the Choose Data Source dialog, select
OpenLink Virtuoso Data Source from the list and click Continue. 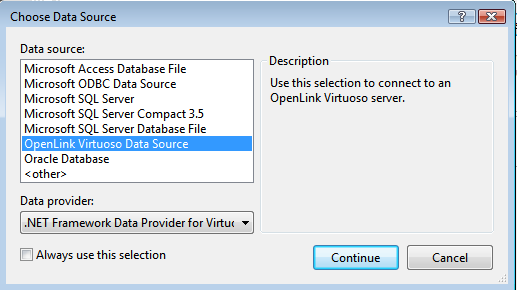
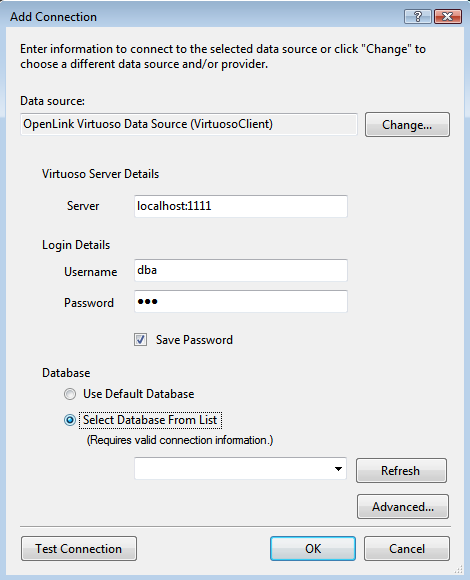
- In the Add Connection dialog, specify the hostname, portno, username, and password for the target Virtuoso Server and and check the Save Password check box.
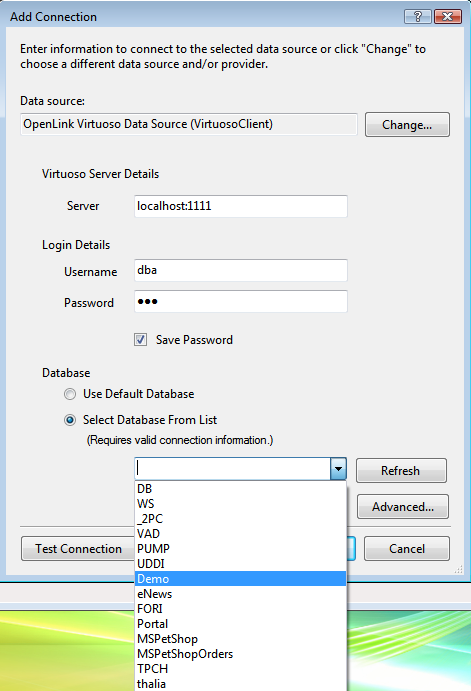
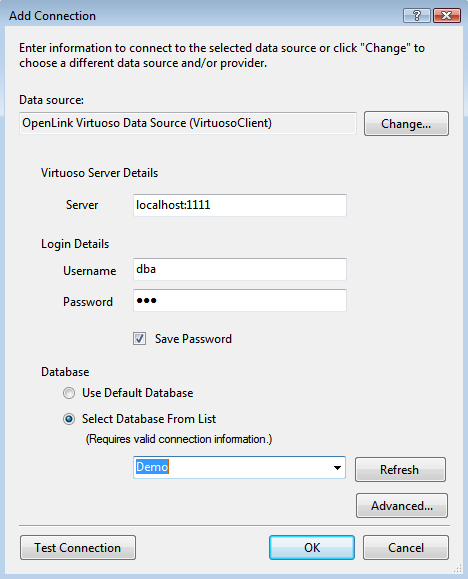
- Select the Select Database From List radio button and choose Demo from the drop down list, assuming the Virtuoso Demo Database is installed.
- Click the Test Connection button to verify the connection is successful and then click OK to add the connection.
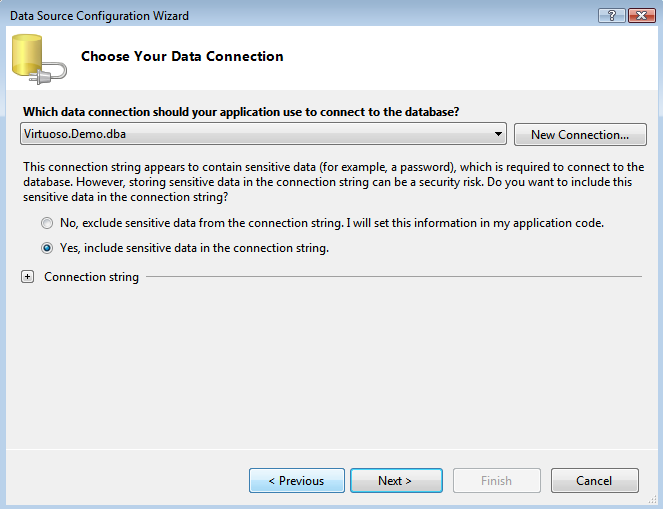
- Select the Yes, include sensitive data in the connect string radio button and click Next to continue.
- In the Choose your Database Objects dialog select the table and columns to be queried, the shippers table is used in this example.
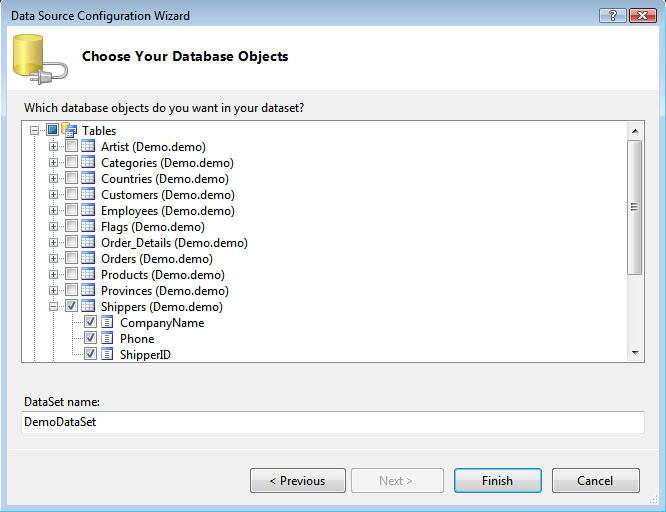
- A
DataSet for the shippers database object is created 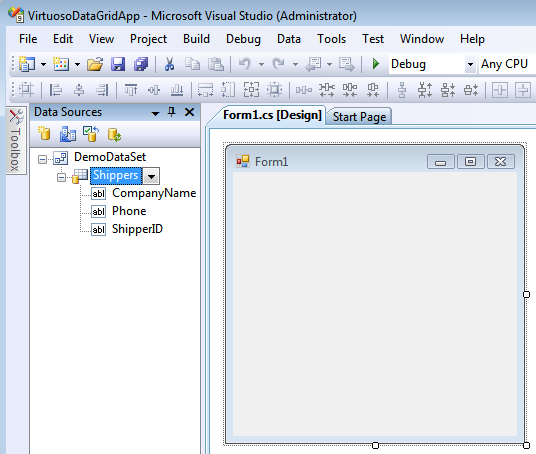
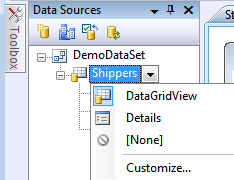
- From the drop down list box next to the Shippers table ensure the DataGridView item is selected
- Drag the Shippers
DataSet item onto the Form to create a scrollable and editable association of the Shippers table object with the Data Grid View automatically. 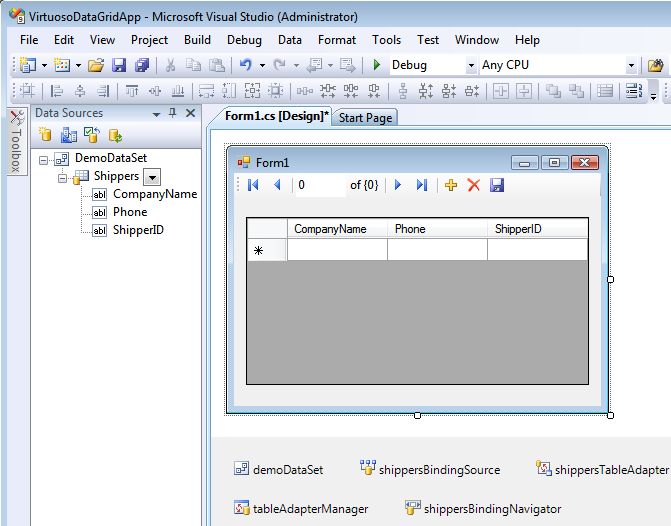
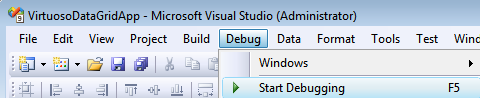
- From the Debug Menu select the Start Debugging menu item to run the application.
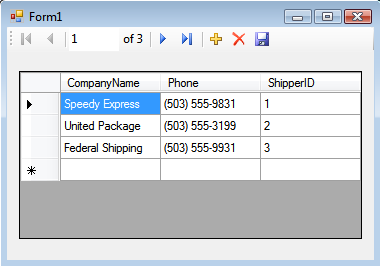
- The data in the Shippers table will be displayed in the DataGrid application created.
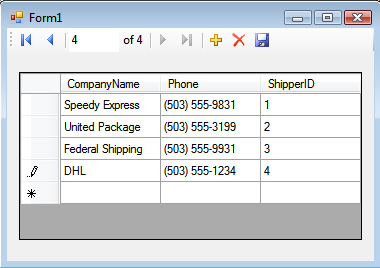
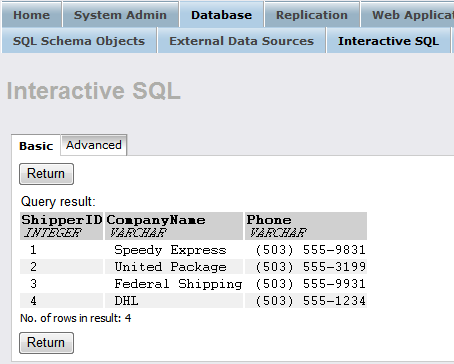
- A new row can be inserted (updated or deleted) as indicated for the new DHL record inserted below and the save button clicked to save the change to the database.
- The Virtuoso Interactive SQL tab of the Conductor can be used to run the query
select * from Demo..Shippers.
- To verify the change has been successfully made in the database.
The task is now complete.