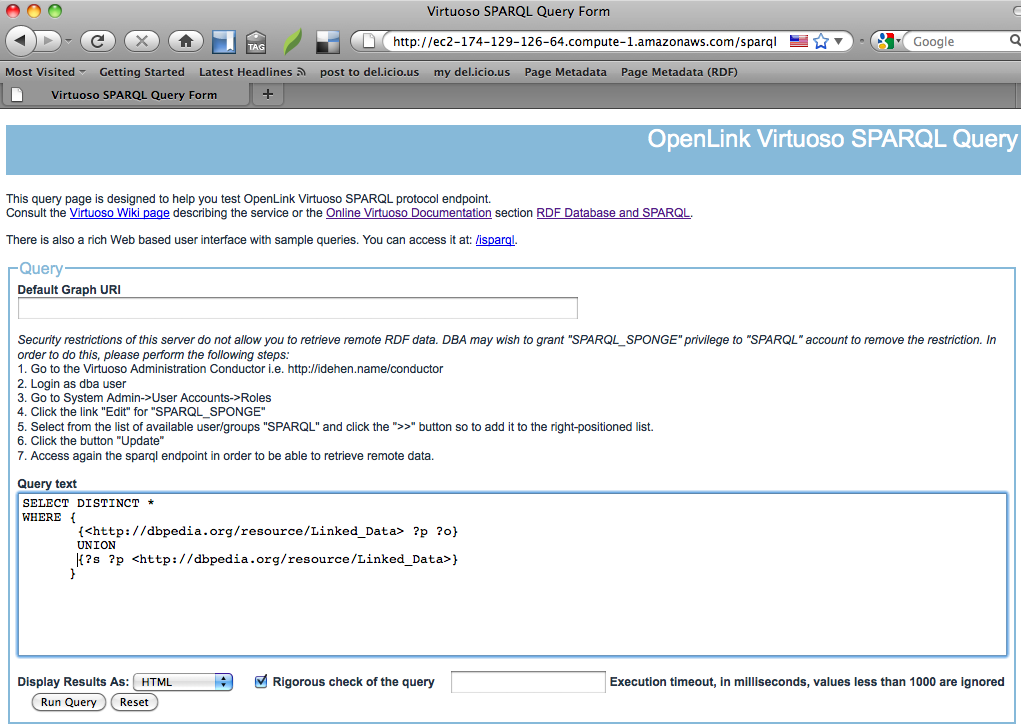
- If not already running, instantiate a Virtuoso EC2 AMI instance.
Note that we recommend a minimum 64-bit extra large image Virtuoso Release 6 AMI instance (ami-23d0334a) with 15GB of memory be used, which is an "Extra Large (m1.xlarge, 15GB)" AMI instance type.
- You can obtain a list of available Virtuoso public snapshots from the AWS Management Console by clicking the "Snapshot" link, selecting "Public Snapshots" from the viewing drop-down list, and searching for Virtuoso.
An EBS volume can be created for any of these snapshots and attached to a Virtuoso EC2 AMI instance.

| Description
|
DBpedia 3.8 - Virtuoso 6.4 Cluster Edition |
| Virtuoso Server Type |
Cluster Edition |
| Snapshot ID (Linux/Unix) |
snap-02baf371 |
| Size |
75 GB |
| Creation Date |
2012-08-28 |
| Last Updated |
2012-08-28 |
| License |
Creative Commons: Attribution Share Alike |
|
Submitted By
|
OpenLink Software |
| Source |
http://www.openlinksw.com |
- Select the "Volumes" link under the "Elastic Block Storage" section
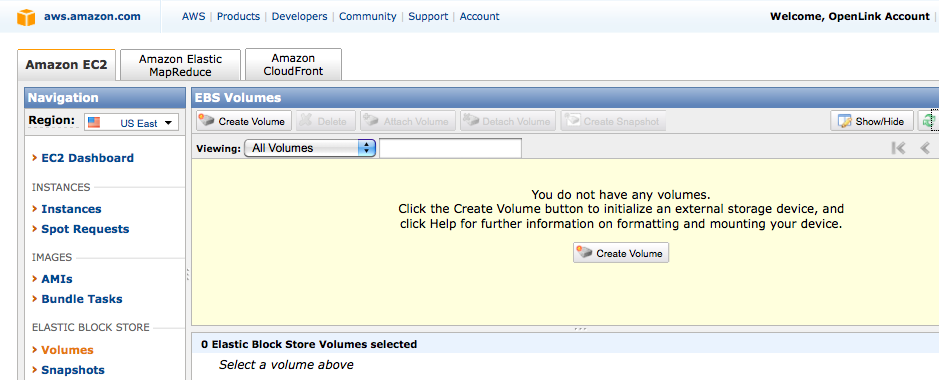
- Click on the "Create Volume" button and set "Size" to 75GB, "Availability Zone" to match the zone of your running Virtuoso EC2 AMI instance and "Snaphot" to the required DBpedia AWS snapshot.

- Select the newly created volume and click on the "Attach Volume" button to attach the volume to the required Virtuoso EC2 AMI instance
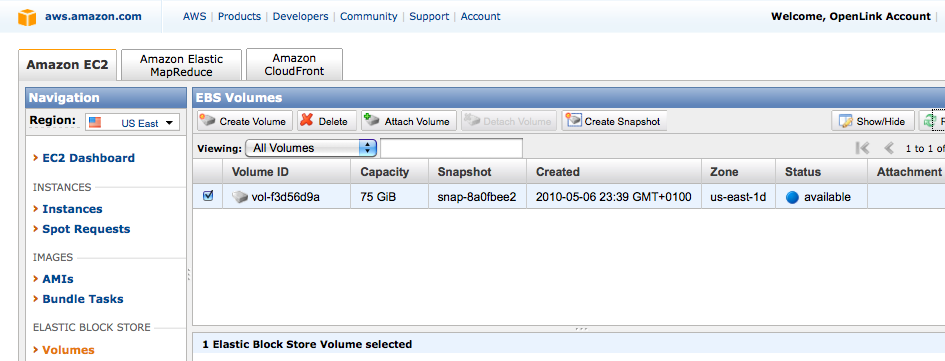
- Select the "Instance" and "Device" to which the volume should be attached, and click "Attach"
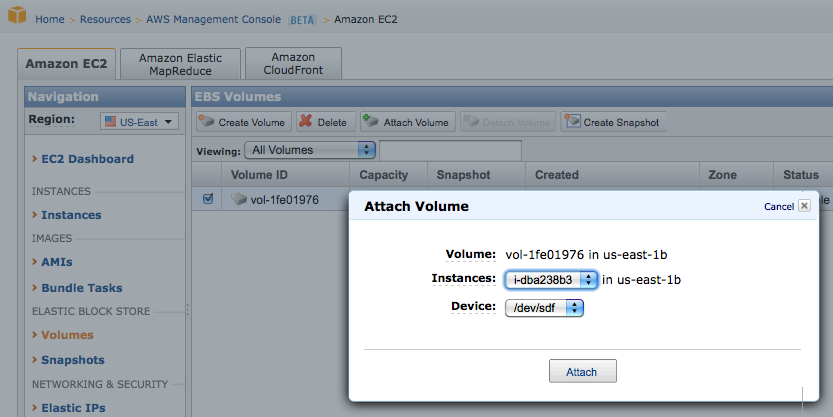
- The volume will now be listed as "attached" to the specified Virtuoso EC2 AMI instance id.

-
ssh
into the Virtuoso EC2 AMI instance and create a directory for the Virtuoso DBpedia 3.8 snapshot volume attached previously to be mounted under.
$ ssh -i MyKeyPair.pem root@<ec2-ami-public-dns-cname>
[root@ip-10-218-91-224 ~]# cd /opt/virtuoso
[root@ip-10-218-91-224 virtuoso]# ls
bin       hosting  lib  virtuoso-environment.csh  vsp
database  install  vad  virtuoso-environment.sh
[root@ip-10-218-91-224 virtuoso]# . ./virtuoso-environment.sh
[root@ip-10-218-91-224 virtuoso]# mkdir dbpedia
- Mount the Virtuoso DBpedia 3.8 snapshot volume.
[root@ip-10-218-91-224 virtuoso]# mount /dev/sdf /opt/virtuoso/dbpedia
- Check the mount point to ensure the operation was successful.
[root@ip-10-218-91-224 virtuoso]# ls -l /opt/virtuoso/dbpedia/
total 40
lrwxrwxrwx 1 root root    17 May  5 16:56 bin -> /opt/virtuoso/bin
-rwxr-xr-x 1 root root   293 May  6 08:04 crestore.sh
-rwxr-xr-x 1 root root    97 May  6 08:23 cstart.sh
lrwxrwxrwx 1 root root    21 May  5 13:29 install -> /opt/virtuoso/install
drwx------ 2  500  500 16384 Apr  8  2009 lost+found
drwxr-xr-x 3 root root  4096 May  6 17:11 cluster_01
drwxr-xr-x 3 root root  4096 May  6 16:40 cluster_02
drwxr-xr-x 3 root root  4096 May  6 16:40 cluster_03
drwxr-xr-x 3 root root  4096 May  6 16:41 cluster_04
[root@ip-10-218-91-224 virtuoso]
- To run the newly attached data set, first set up your Virtuoso environment, and ensure the default database instance has been stopped.
[root@ip-10-218-91-224 ~]# cd /opt/virtuoso
[root@ip-10-218-91-224 virtuoso]# . ./virtuoso-environment.sh
[root@ip-10-218-91-224 virtuoso]# virtuoso-stop.sh
- Navigate to the mounted data set, and set the
VIRTUOSO_HOME environment variable to this location.
[root@ip-10-218-91-224 virtuoso]# cd /opt/virtuoso/dbpedia
[root@ip-10-218-91-224 dbpedia# export VIRTUOSO_HOME=`pwd`
- Note that as stated in step 1, it is recommended these DBpedia snaphots be used with a minimum 64-bit extra large image Virtuoso Release 6 AMI instance (ami-23d0334a) with 15GB of memory.
Should you choose to use the "large image" with only 7.5GB memory then the Virtuoso configuration file (virtuoso.ini) must be edited, and the "
NumberOfBuffers" parameter therein reduced from 1000000 to 500000 before attempting to start the Virtuoso server instance; otherwise, it will fail to start due to lack of memory.
Note as this is a 4 node cluster the "NumberOfBuffers" should be split across the "virtuoso.ini" for each node ie 250000 for 16GB RAM and 125000 for 7.5GB RAM.
For more details please refer to the Virtuoso RDF Performance Tuning Guide in the online documentation.
- Run the following command to remove any old transaction log files that may still be in place before starting the cluster.
[root@ip-10-218-91-224 virtuoso]# rm cluster_0*/database.trx
- Run the
virtuoso-start.sh script to start the Virtuoso server containing the attached data set.
[root@ip-10-218-91-224 dbpedia]# virtuoso-start.sh
Starting Virtuoso instance in [cluster_01]
Starting Virtuoso instance in [cluster_02]
Starting Virtuoso instance in [cluster_03]
Starting Virtuoso instance in [cluster_04]
[root@ip-10-218-91-224 dbpedia]#
- Note the preconfigured Virtuoso Server "dba" user's password is set to the default of "dba".
It is strongly recommended that this be changed to a suitably secure password using the System Admin -> User Accounts tab in the Virtuoso Conductor (
http://ec2-ami-public-dns-cname/conductor/).
- The Virtuoso hosted data set can now be explored using an HTML browser, or queried from the SPARQL or Faceted Browser web service endpoints.
For example, in the DBpedia datasets --
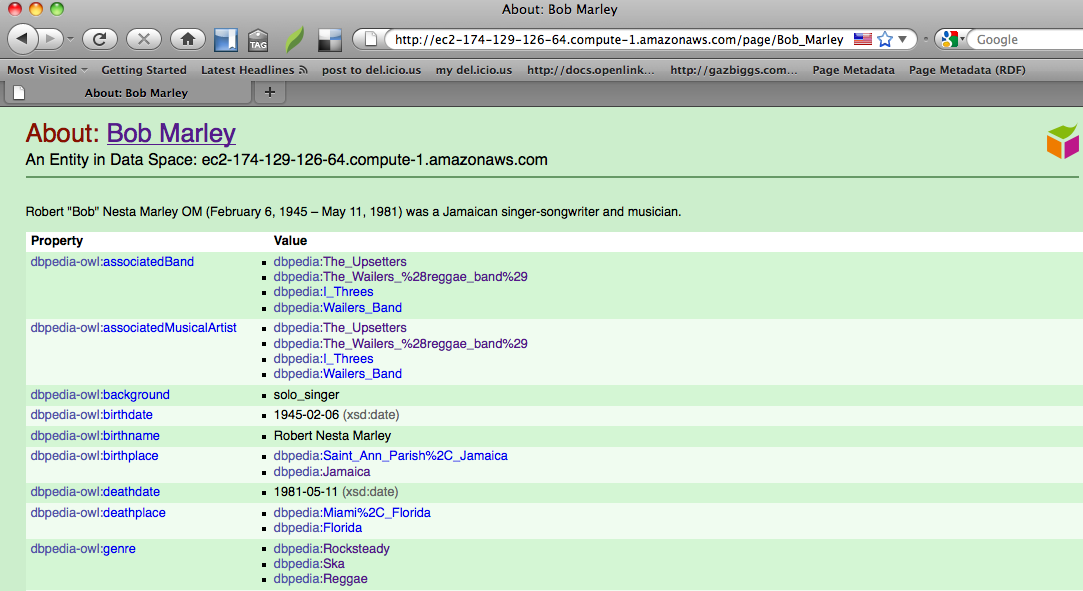
- A description of the resource Bob Marley can be viewed as:
http://ec2-ami-public-dns-cname/resource/Bob_Marley
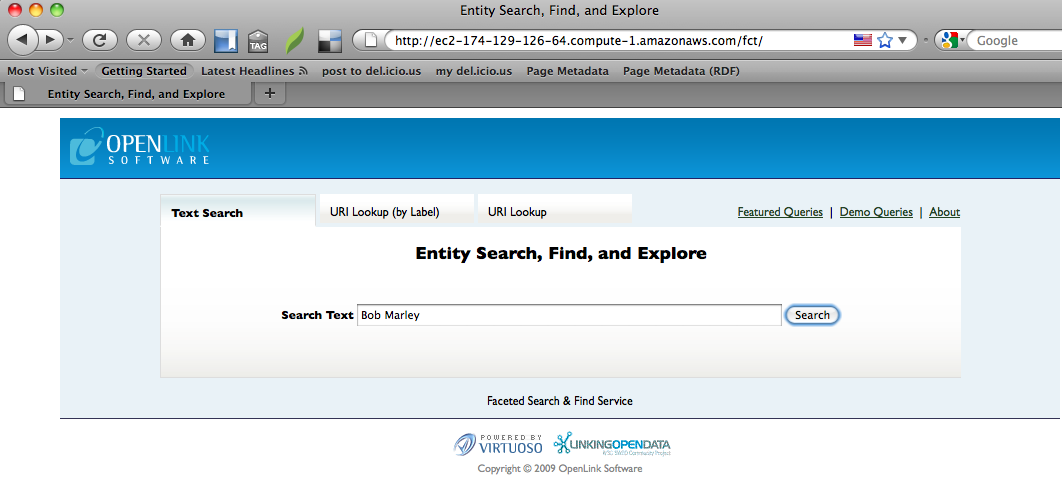
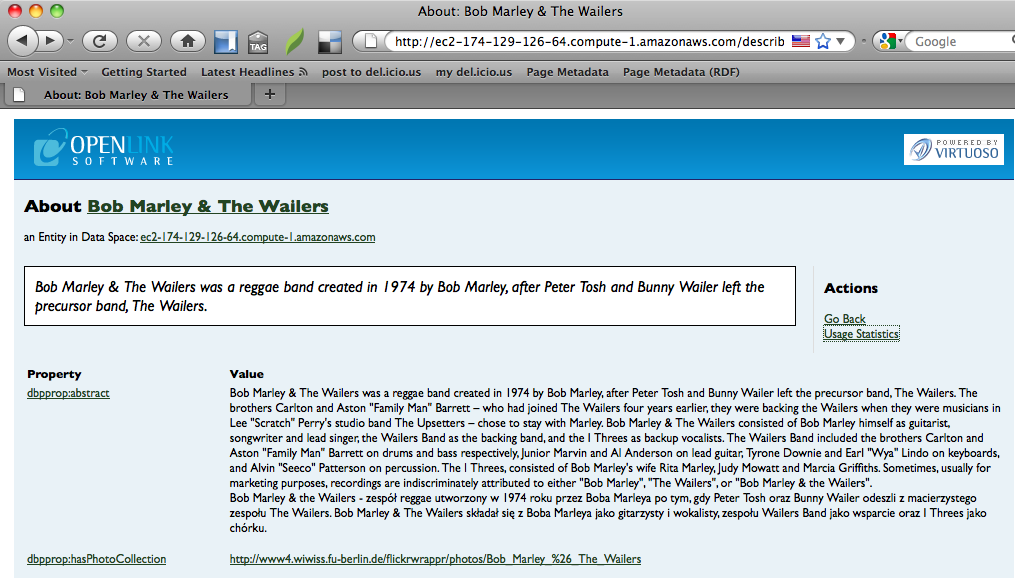
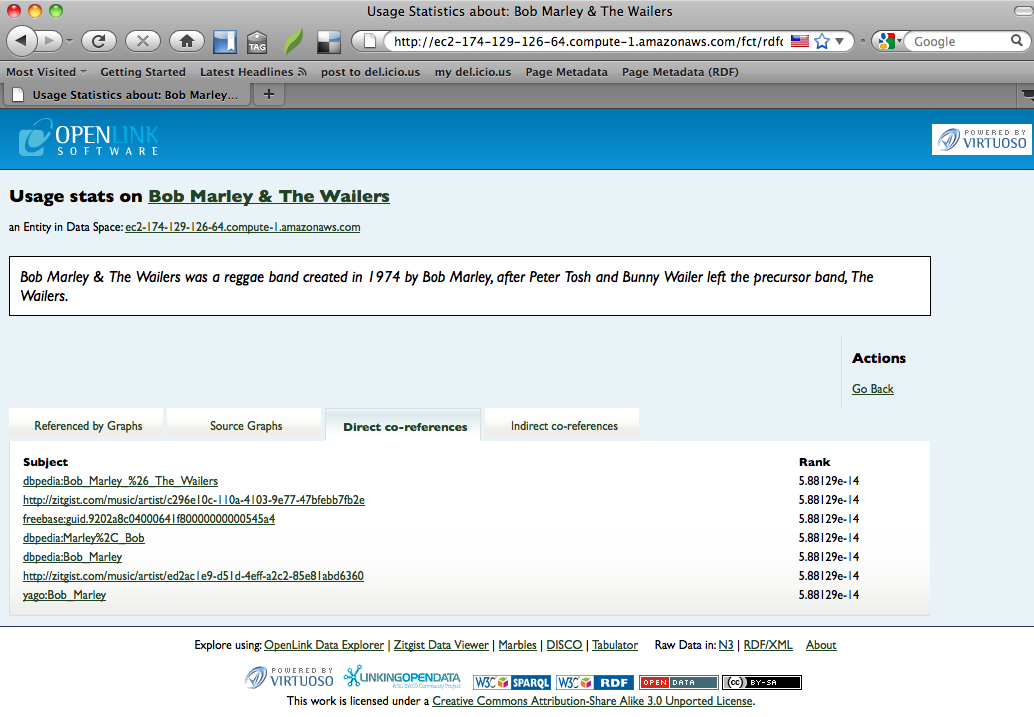
- A Faceted Search can be performed on a resource at
http://ec2-ami-public-dns-cname/fct
- A SPARQL query can be run to obtain information on a resource at
http://ec2-ami-public-dns-cname/sparql
