HTTP Service Configuration on Subordinate Nodes of a Virtuoso Elastic Cluster
What
This document details how to configure the Subordinate (also called Slave) Nodes of a Virtuoso Elastic Cluster to service HTTP clients.
Why
By default, only the Primary (also called Master) instance of a Virtuoso Elastic Cluster is configured to provide HTTP services.
The Subordinate (also called Slave) nodes of the cluster may also be configured to provide HTTP services, enabling load balancing by spreading HTTP requests across the cluster's nodes.
How
Step 1 - Set up each instance as a HTTP Server
Each node can be configured to provide HTTP services as follows:
- Copy the
[HTTP Server]section from the Primary instance's configuration file (by default,virtuoso.ini) to the configuration file of each Subordinate instance:
[HTTPServer] ServerPort = 8890 ServerRoot = ../vsp DavRoot = DAV EnabledDavVSP = 0 HTTPProxyEnabled = 0 TempASPXDir = 0 DefaultMailServer = localhost:25 MaxClientConnections = 5 MaxKeepAlives = 10 KeepAliveTimeout = 10 MaxCachedProxyConnections = 10 ProxyConnectionCacheTimeout = 15 HTTPThreadSize = 280000 HttpPrintWarningsInOutput = 0 Charset = UTF-8 ;HTTPLogFile = logs/http.log MaintenancePage = atomic.html EnabledGzipContent = 1 - Edit the
ServerPort
- Install the Virtuoso Conductor to enable HTTP Administration of the instance being configured.
Note: if the subordinate instance is not on the same machine as the primary instance, then the
vaddirectory may also need to be copied from the primary instance to the subordinate instance.
SQL> vad_install ('../vad/conductor_dav.vad', 0);
SQL_STATE  SQL_MESSAGE
VARCHAR  VARCHAR
_______________________________________________________________________________

00000    No errors detected
00000    Installation of "Virtuoso Conductor" is complete.
00000    Now making a final checkpoint.
00000    Final checkpoint is made.
00000    SUCCESS


6 Rows. -- 10263 msec.
SQL>
Step 2 - Install and configure HTTP services on each instance
Any HTTP services required on the subordinate instance will need to specifically installed or configured on that physical node.
For example, the Virtuoso default SPARQL endpoint (/sparql) may be configured by:
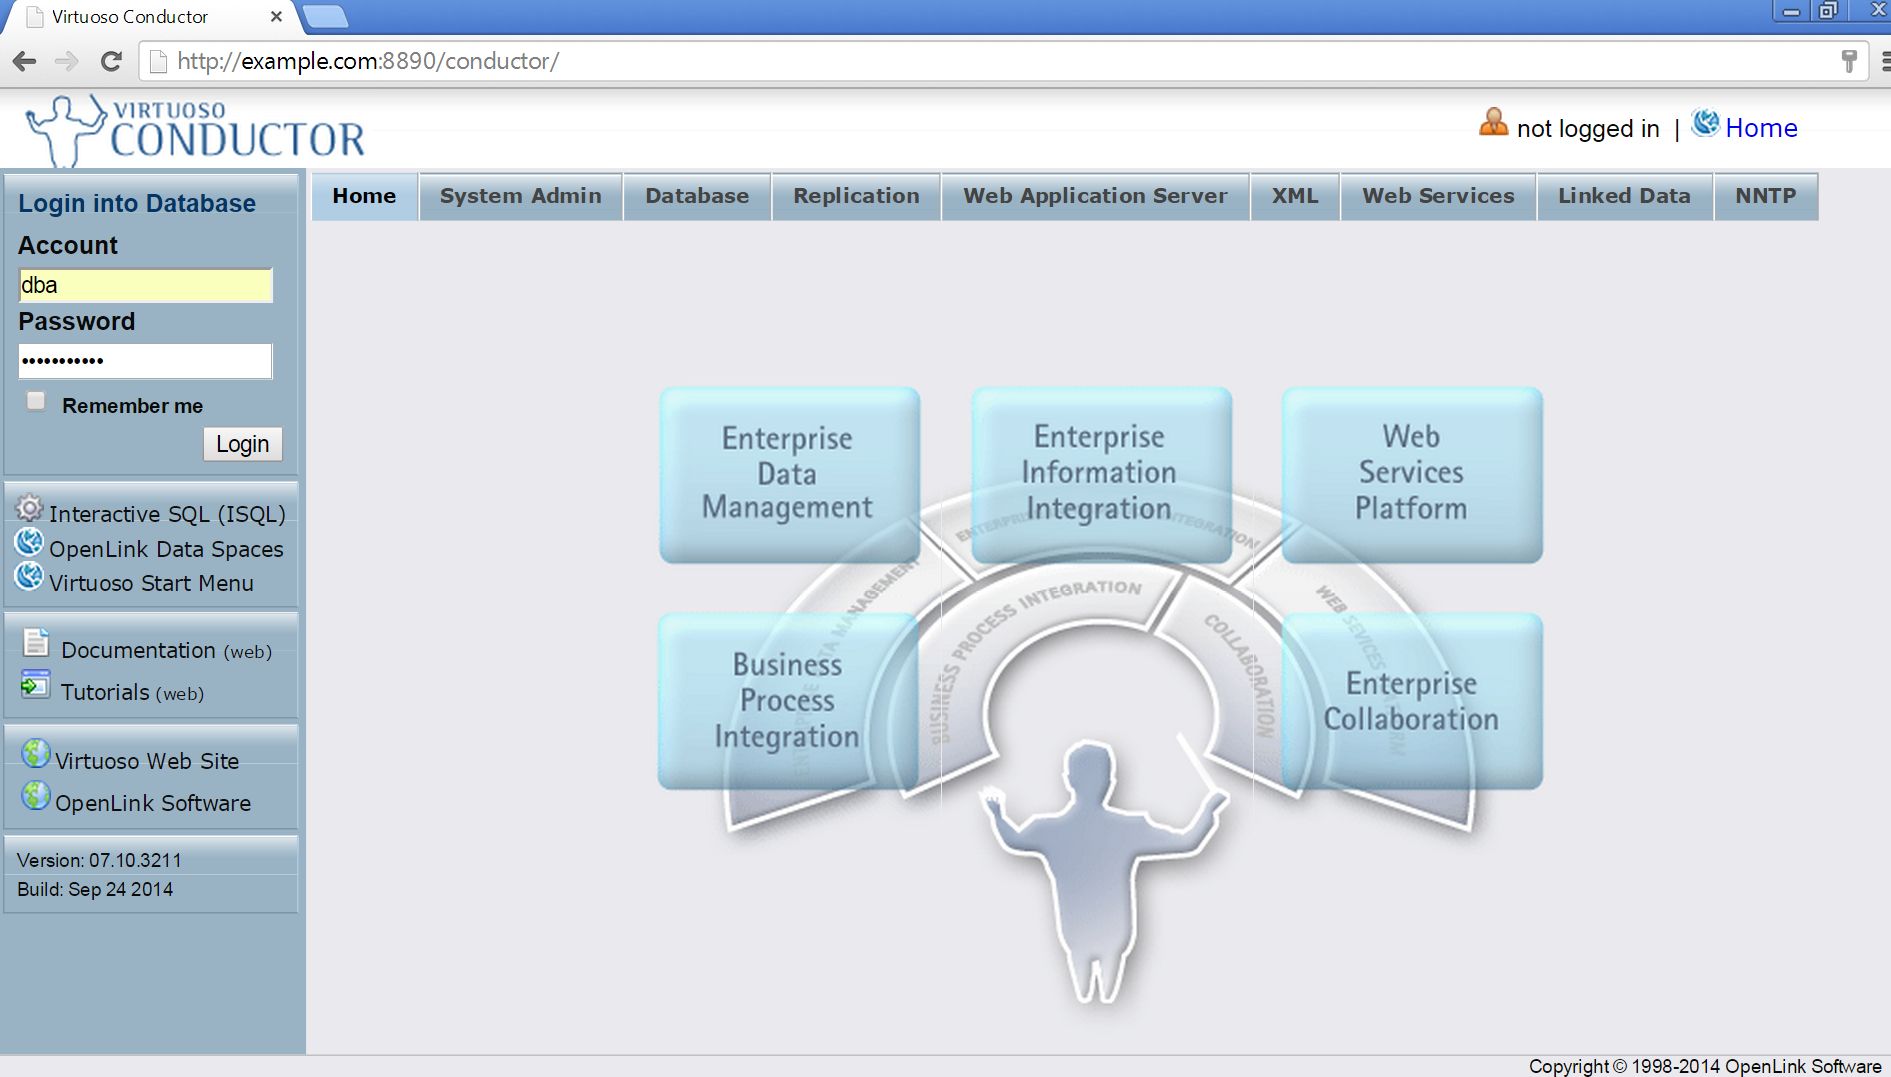
- Log in into the Virtuoso Conductor
http://hostname:port/conductor.
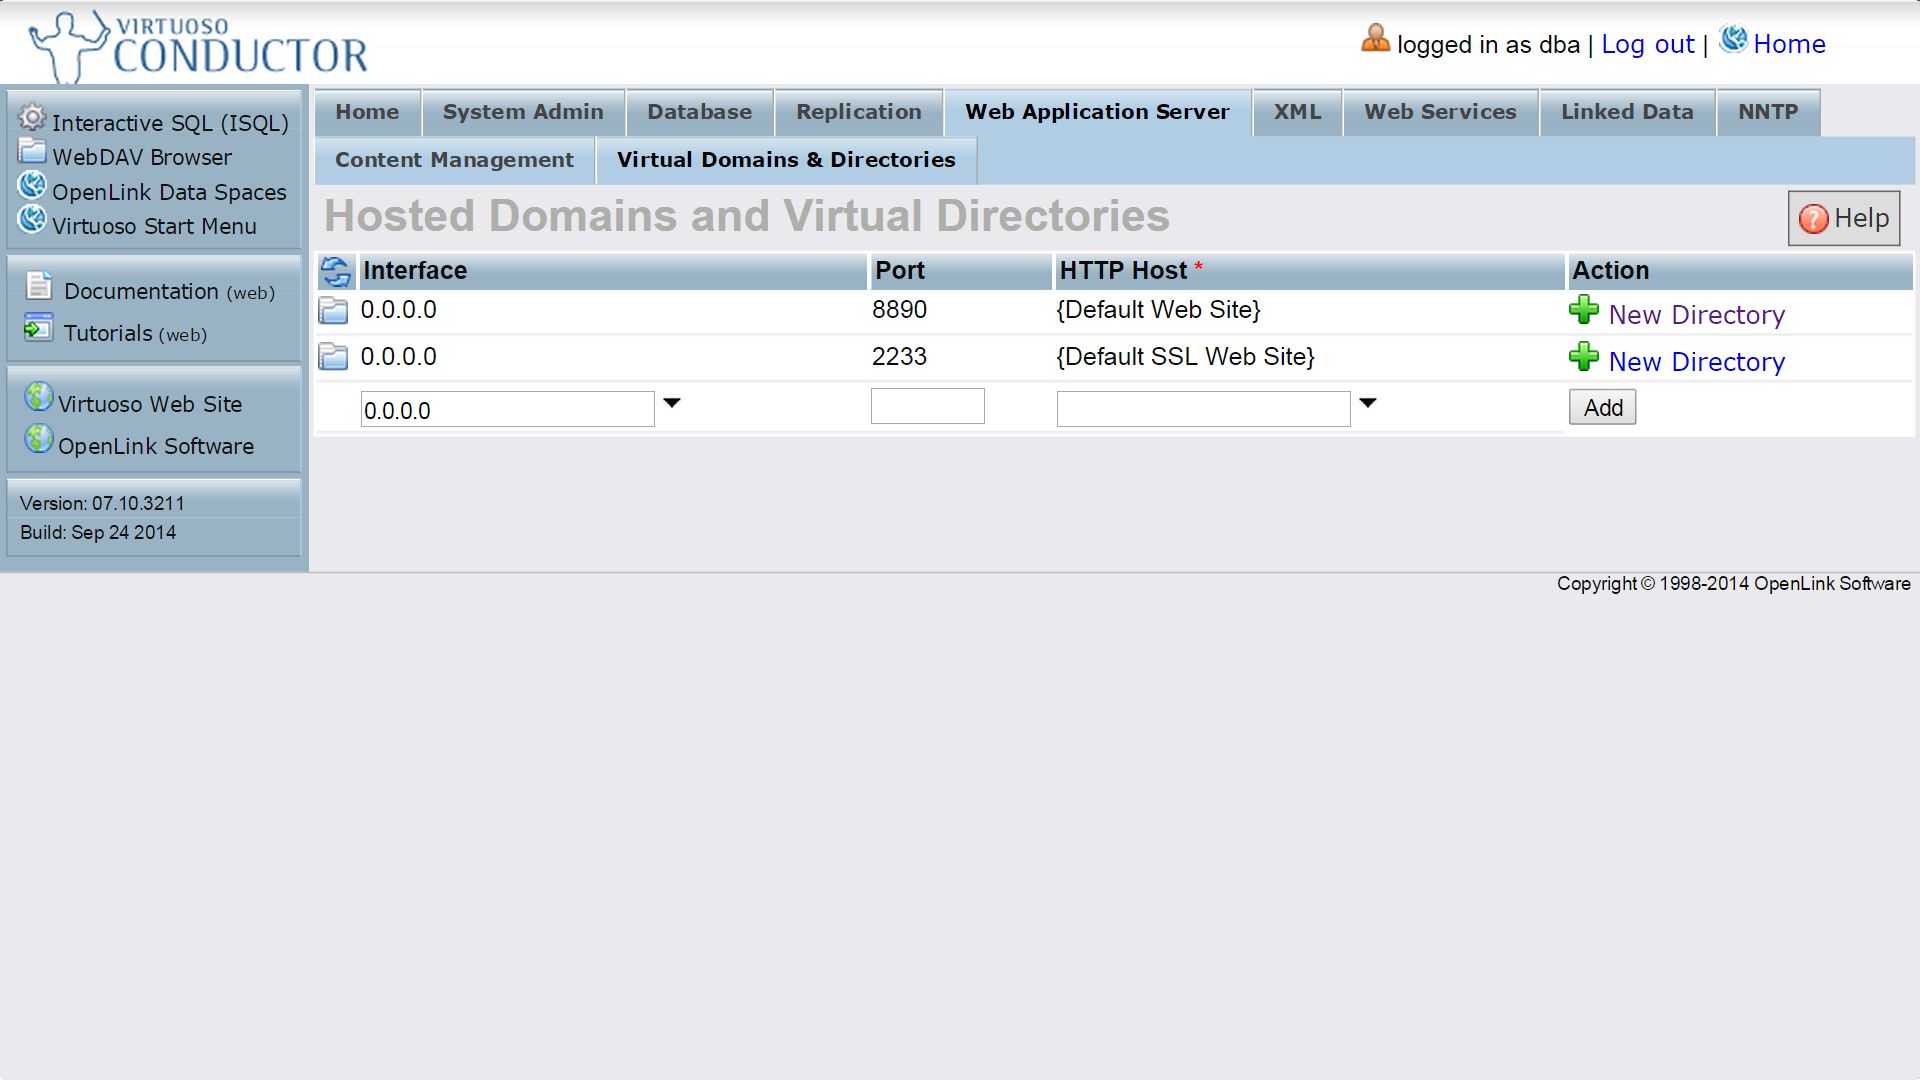
- Go the the
Web Application Server -> Virtual Domains & Directoriestab.
- Select the
New DirectoryAction for theDefault Web SiteHTTP host.
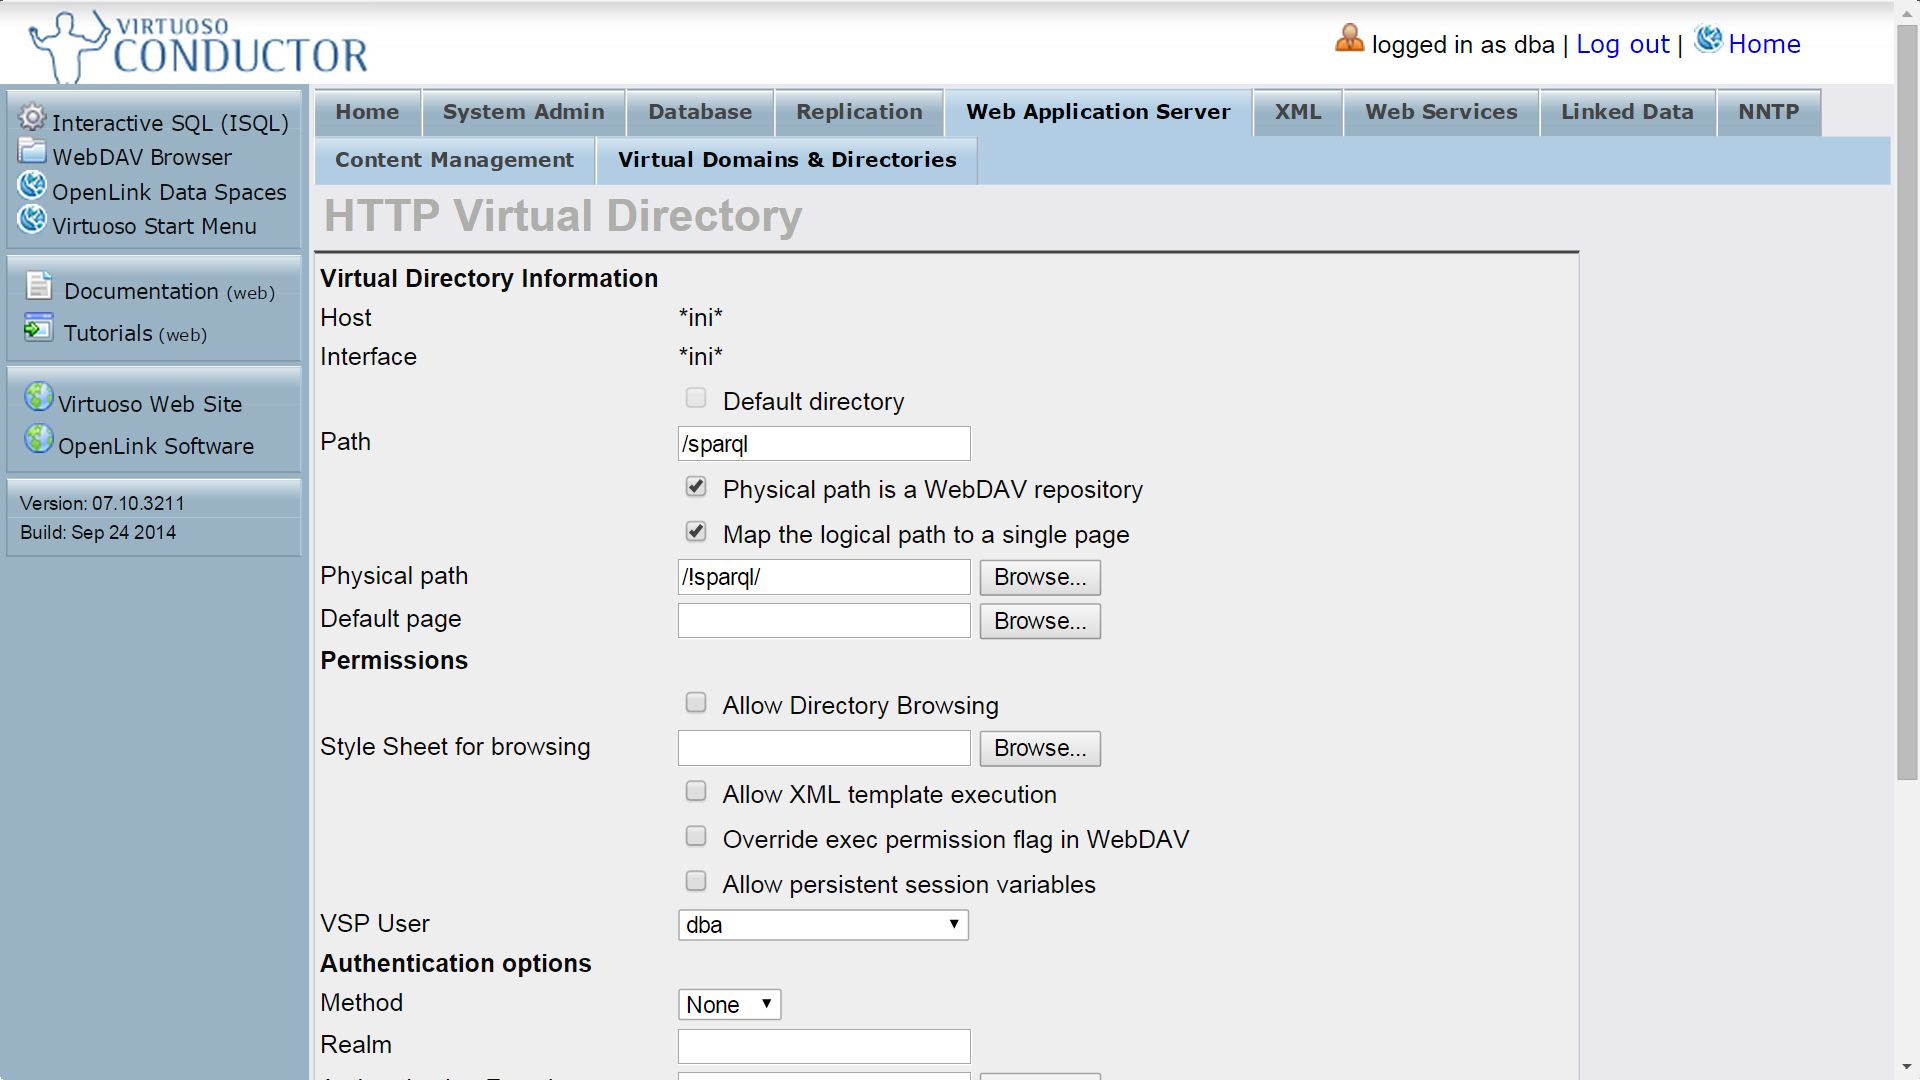
- Select the
Typeradio button andSPARQL access pointitem from the drop down list box:
- Click "Next".
- Enter
/sparqlas thePathparam in the Virtual Directory Information section and clickSave Changes.
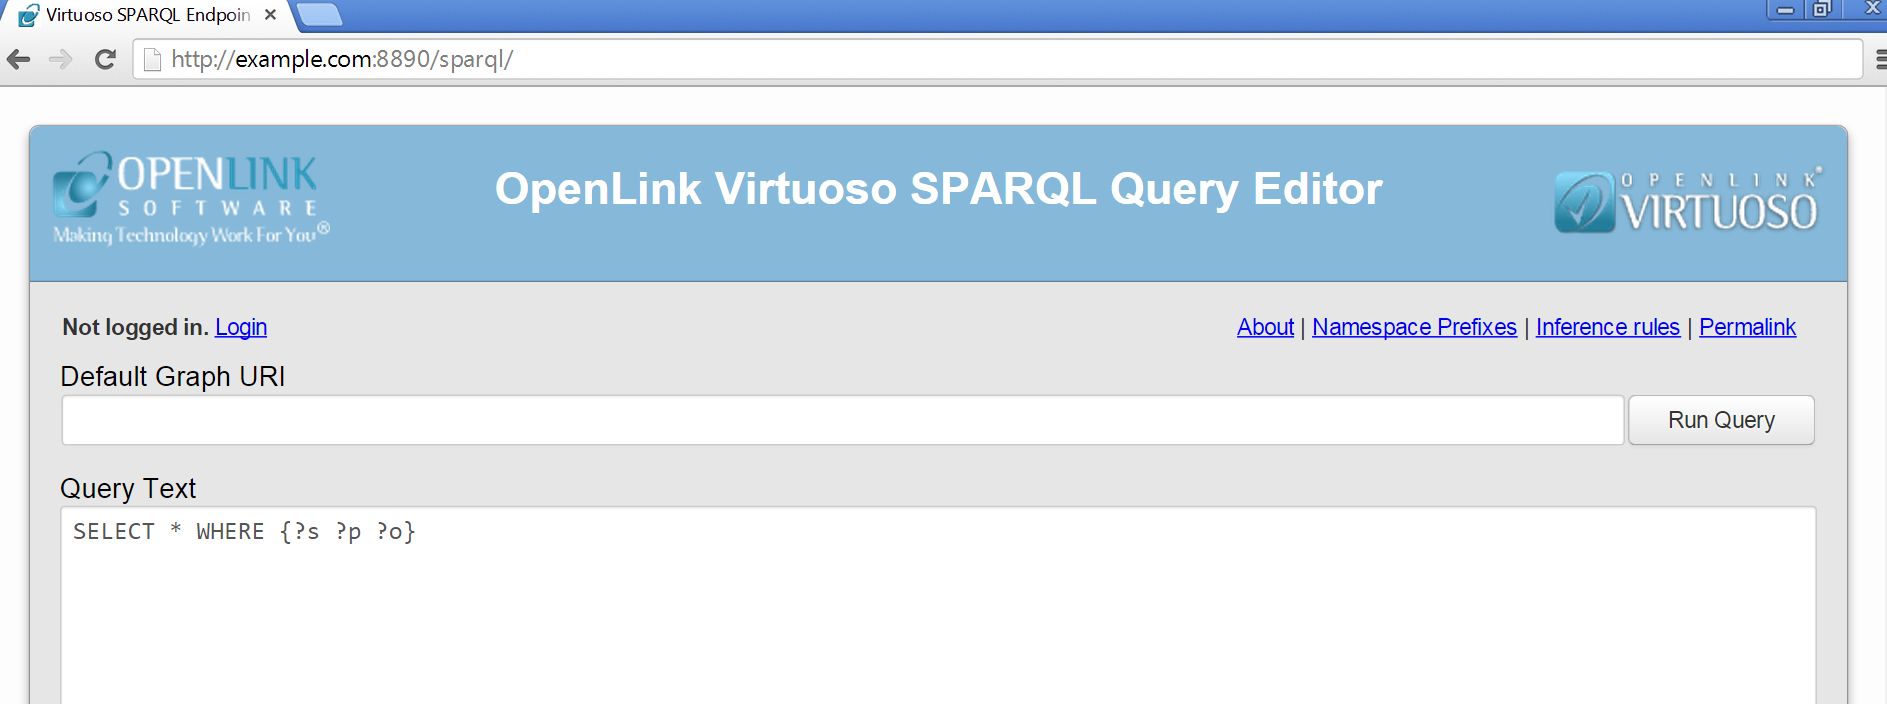
- The SPARQL endpoint will not be accessible on
http://hostname:port/sparqlthe the newly configured slave nodes:
- Further details on SPARQL endpoint configuration can be found in the Online documentation.
- Typical Virtuoso server log output from a slave node when started, showing the HTTP server running on port
8890, being:
20:12:49 OpenLink Virtuoso Universal Server
20:12:49 Version 07.10.3209-pthreads for Linux as of Apr 26 2014
20:12:49 uses parts of OpenSSL, PCRE, Html Tidy
20:12:49 Registered to OpenLink Virtuoso (Internal Use)
20:12:49 Personal Edition license for 500 connections
20:12:49 Issued by OpenLink Software
20:12:49 This license will expire on Sun May 17 06:18:35 2015 GMT
20:12:49 Enabled Cluster Extension
20:12:49 Enabled Column Store Extension
20:12:57 Database version 3126
20:12:57 SQL Optimizer enabled (max 1000 layouts)
20:12:58 Compiler unit is timed at 0.000208 msec
20:12:58 Roll forward started
20:12:58 Roll forward complete
20:12:59 Checkpoint started
20:12:59 Checkpoint finished, log reused
20:12:59 HTTP/WebDAV server online at 8890
20:12:59 Server online at 12202 (pid 15969)
Step 3 - Configure load balancing
A reverse-proxy service (like Nginx or Apache) can then be configured such that requests are proxied across as any or all nodes of the cluster, to provide the desired load balancing.
Additional Information
- Only the Primary Node of an Elastic Cluster may be configured as a Publisher for Virtuoso Replication Cluster purposes.
- The Virtuoso 500 billion triple Berlin SPARQL Benchmark (BSBM) dataset runs were performed on a 24-node Elastic Cluster. Each node was configured to provide HTTP services and a SPARQL endpoint, and the query load was spread over the entire cluster.