Virtuoso Linked Data Views for the MySQL? sample Database
This document details the steps required for building RDF-based Linked Data views of schema objects in MySQL? data sources, using the sample Northwind database.
- Go to the Virtuoso Conductor (
http://<cname>:port/conductor). Note, the appropriate cname (hostname) and port number for dereferencing URIs must be set for theURIQA:DefaultHostVirtuoso configuration parameter before creating the Linked Data Views. - Log in as user
dba(or another user with DBA privileges). - If not already done Link the MySQL tables into OpenLink Virtuoso.
- Select the Linked Data -> Views tab of the Conductor.
(In previous versions, this path was Database -> Linked Data Views.)
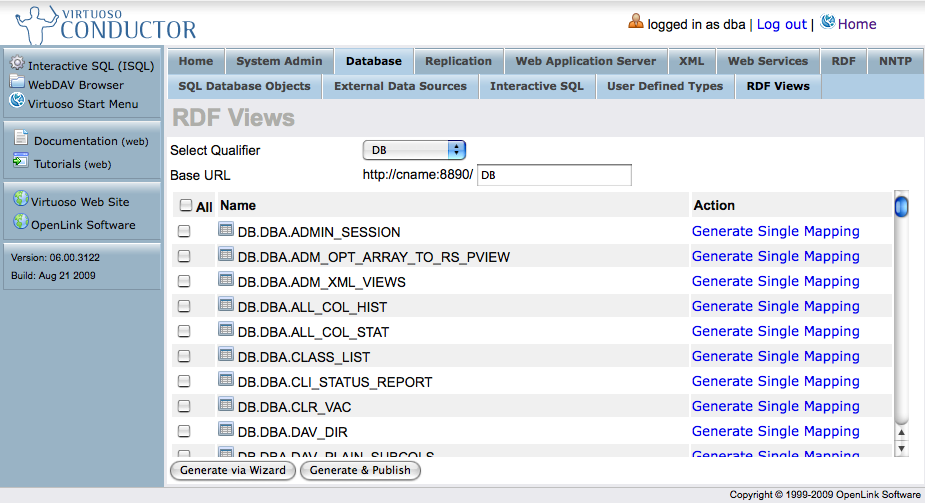
- Select the Database Name Qualifier (e.g., "
NWND") that exposes the Tables / Views for this exercise. - Enter the Base URL to which your URL rewrite rules will be bound (e.g.,
http://<cname>:8890/NWND).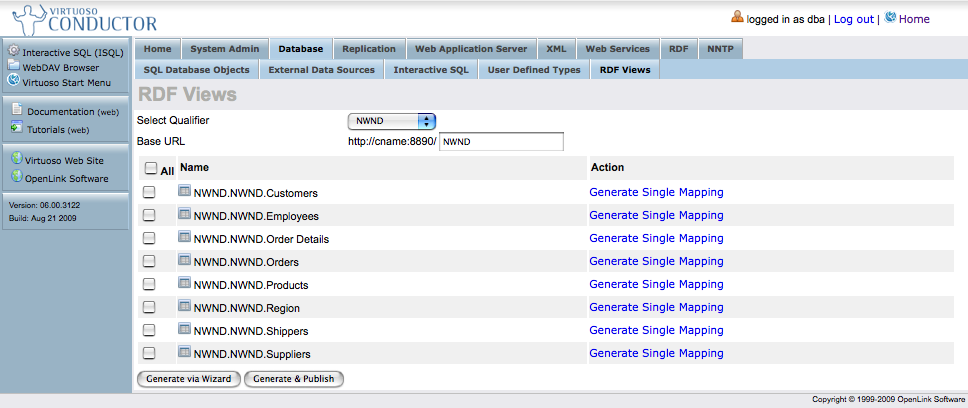
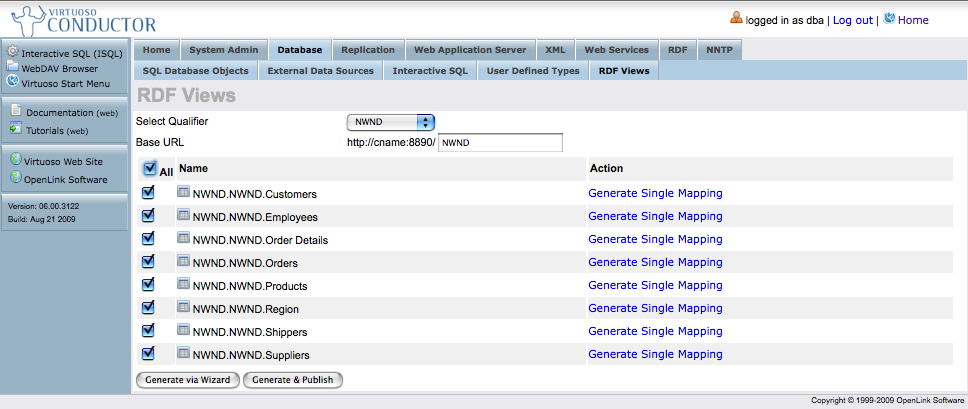
- Select the specific Tables containing the data to be published.
- Choose Generate via Wizard to perform a custom generation and continue with Step 9 or choose Generate & Publish to perform a one click generation of the RDF Linked Data Views, in which case skip to Step 17.
- At this point, you are presented with the option to edit your column selection.
Select the "Edit" link, for example, for table
NWND..Customers.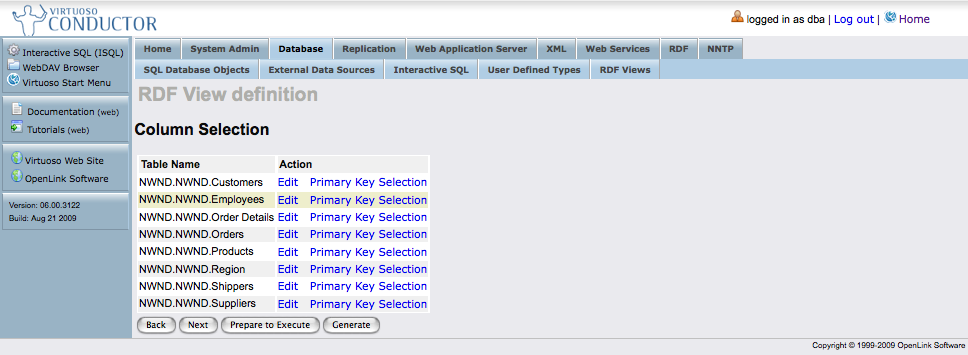
- For images or other binary data in MIME formats to be revealed as anything other than generic "binary objects", you must map large
varbinarytypes. to the appropriate MIME types likeimage/gif. To do so, select the Edit link for Binding/MIME Type of the relevant table columns. You can:- Leave the Binding/MIME Type literal; or
- Set to skip, such that the column will not be used in RDF generation; or
- Select the binary object value in order for the column to be referenced as binary.
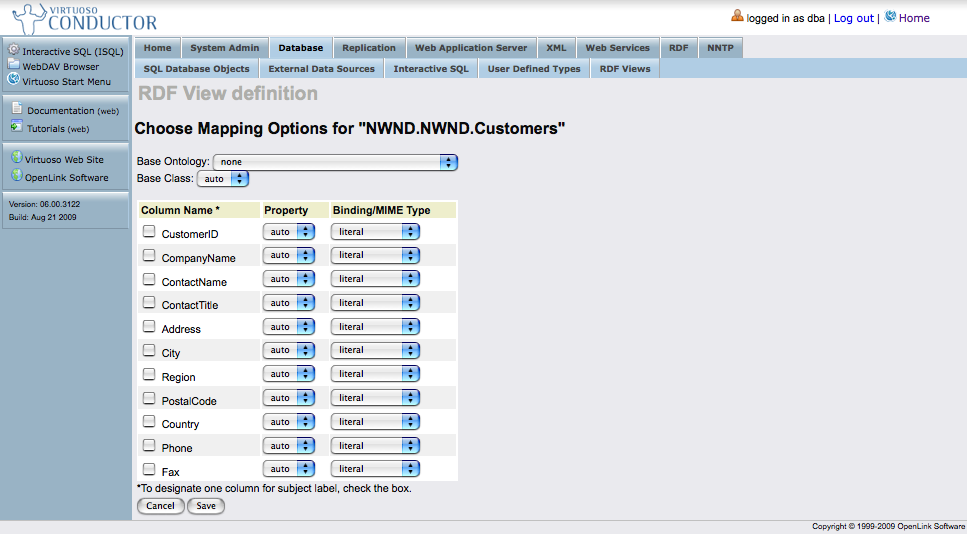
- After finishing with your changes click the Save button, or cancel the changes and go back by clicking the Cancel button.
- Make sure you click the "Next" button.
- At this point, the Linked Data View Definition form will let you Select Generation Targets options:

- Data Source Ontology Mappings
- Instance Data View Mappings
- VoID statistic
- Make sure you click the "Next" button.
- Based on your selections in the prior form, the Linked Data View Definition Deployment Options form will be offered:
- Data Source Ontology Rules
- Instance Data Rules

- Select the desired option(s) and click the "Prepare to Execute" button which unveils a generated Instance Data and/or Ontology form.
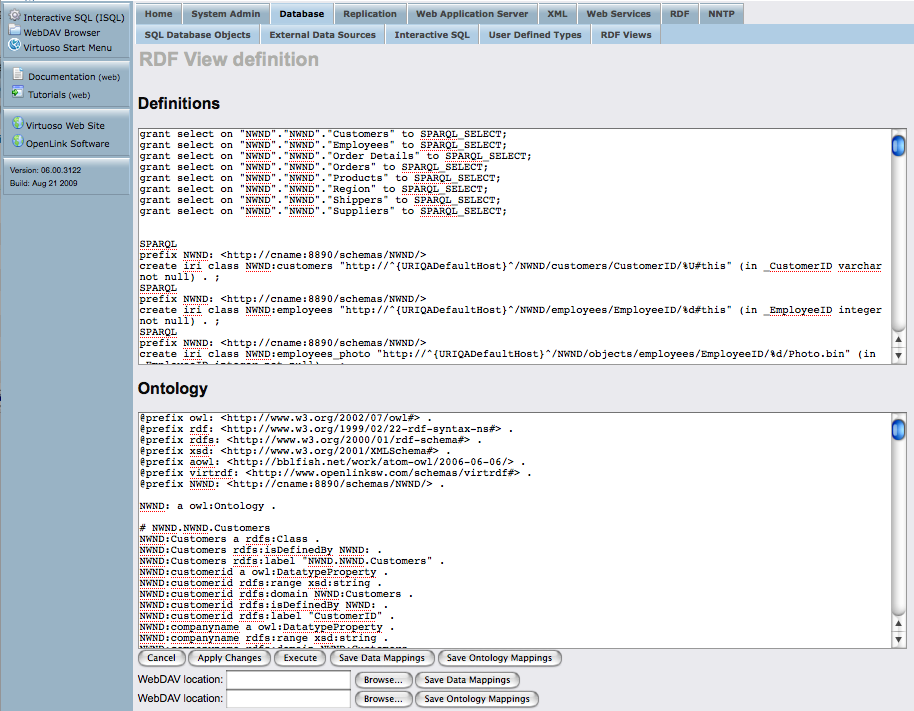
- Click the Execute button and Virtuoso will:
- Apply the generated declarations (instance data and ontology) to your Virtuoso instance.
- Publish / Deploy declarations that expose the Wizard-generated Rewrite Rules and associated endpoints.
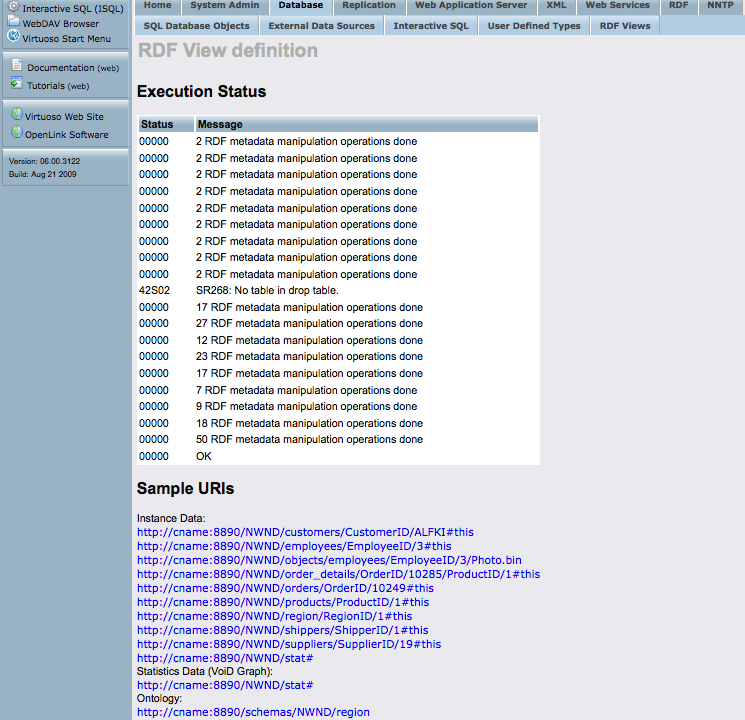
- Click on one of the Instance Data Sample links to view some of the deployed Linked Data views.
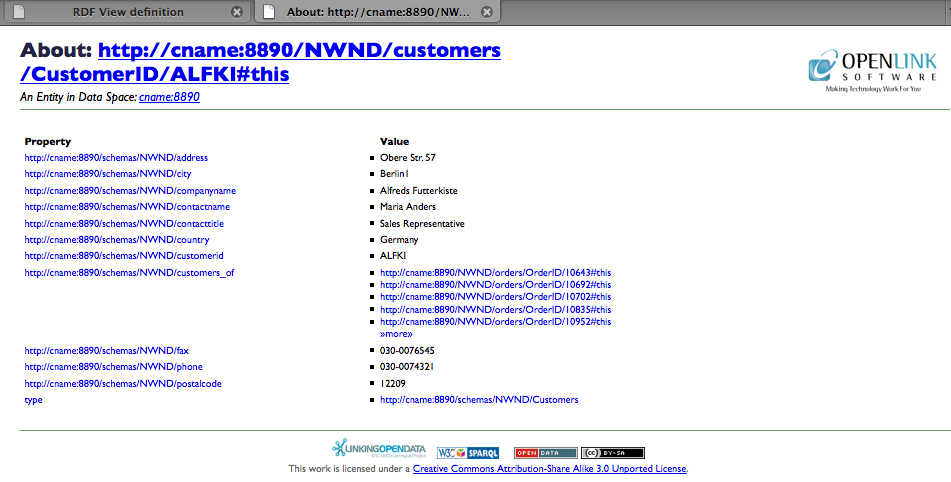
- Click on the Statistics Data (
VoID Graph) link to view the VoID Statistics. 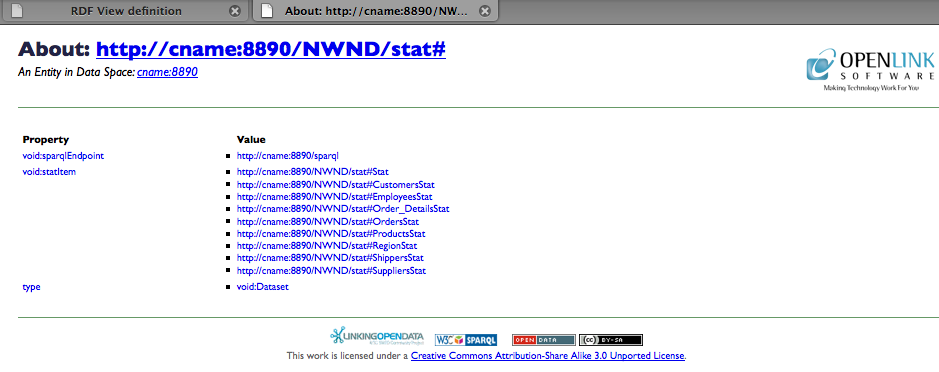
- Click on the Ontology link to view the ontology information.
