VOS.VirtOJDBCVisualStudioDataGridFormsApp
Visual Studio Windows
This article details the steps required to create a simple Visual Studio 2008 Windows Form application, with associated
- Launch the Visual Studio 2008 SP1 IDE.
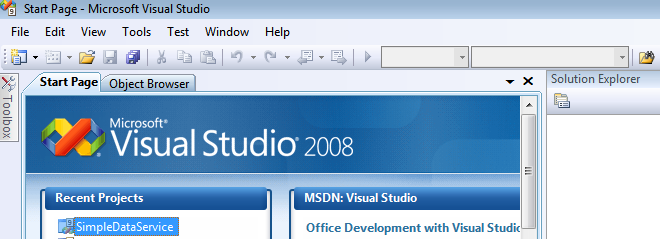
- Create a Web Application project by going to the File menu in Visual Studio and choosing New Project.
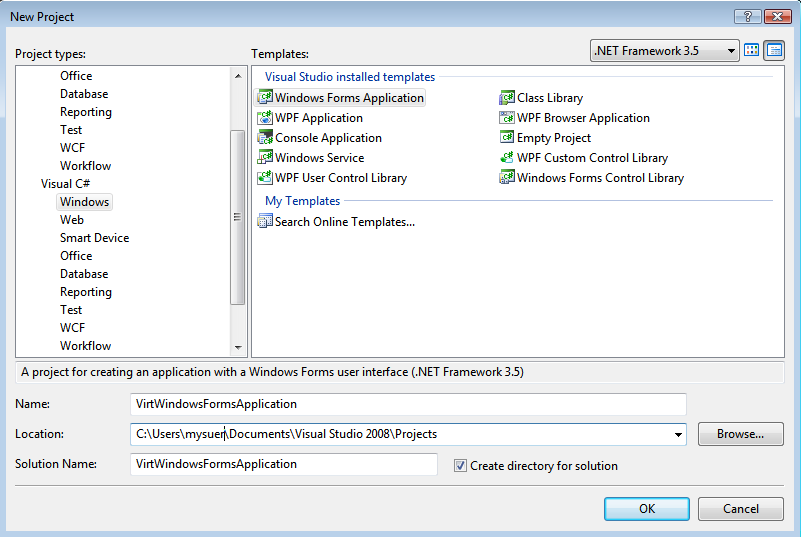
- When the New Project window appears, choose either Visual Basic or Visual C# as your programming language.
- Within the language category, click on Windows and select Windows Form Application from the right-hand panel.
- Choose a name for the project, for example
VirtWindowsFormApplication, and click OK.
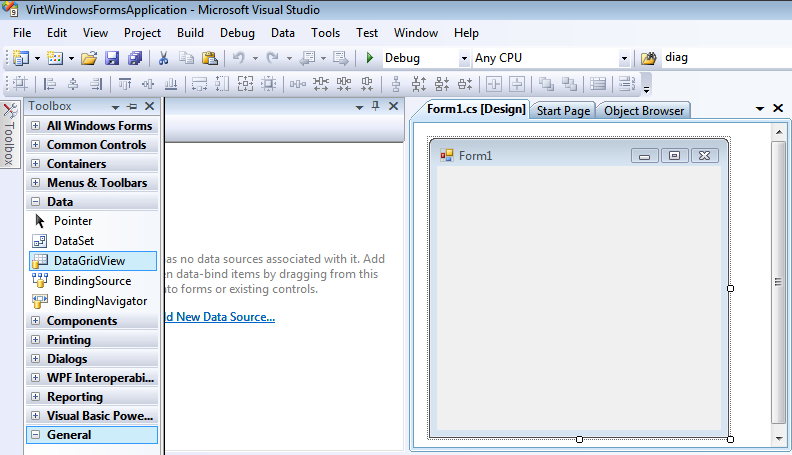
- In the Toolbox, expand Data Controls and drag the
DataGridView control onto the form.
- Click the little arrow in the top right of the
DataGridView control to load the DataGridView Task menu.
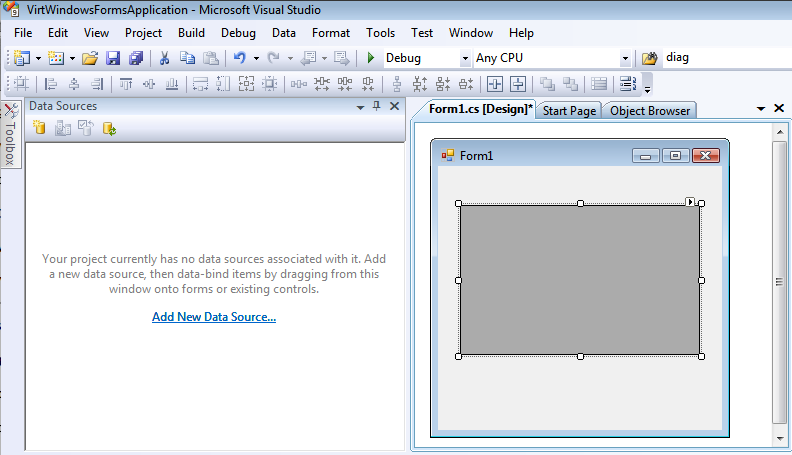
- Click on the Choose Data Source list box.
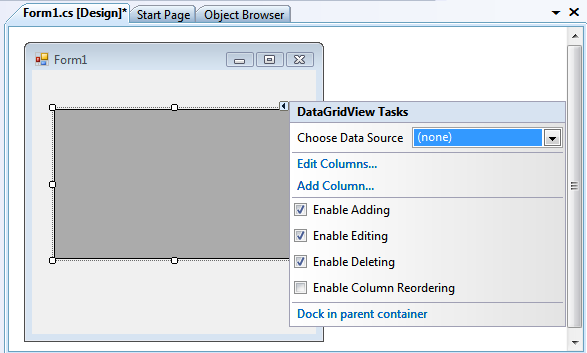
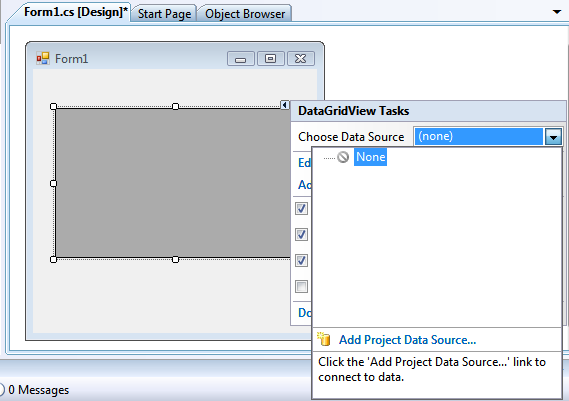
- Click on the Add Project Data Source link to connect to a data source.
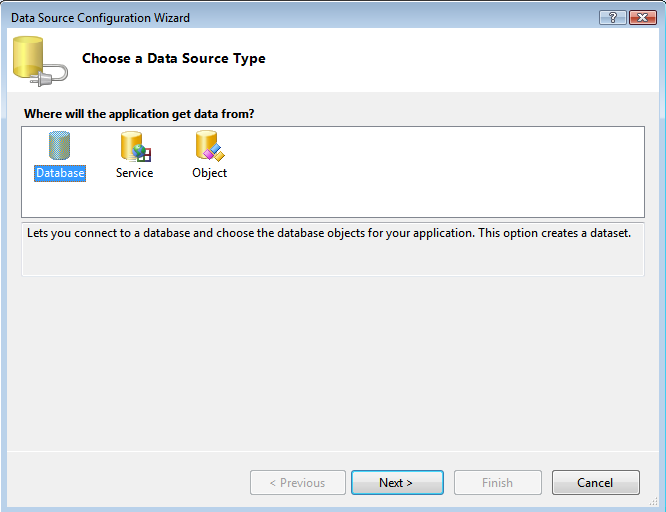
- In the Data Source Configuration Wizard dialog Choose Data Source Type page, select the Database data source type and click Next.
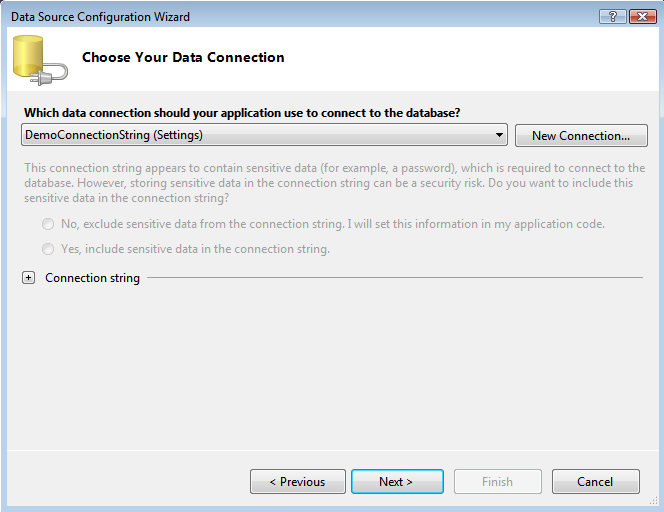
- In the Data Source Configuration Wizard dialog Choose your Data Connection page, select the New Connection button.
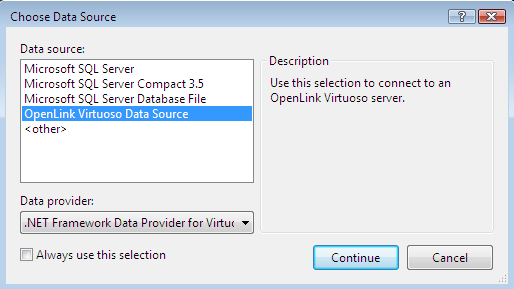
- In the Choose Data Source dialog, select the
OpenLink Virtuoso Data Source from the list and click Continue.
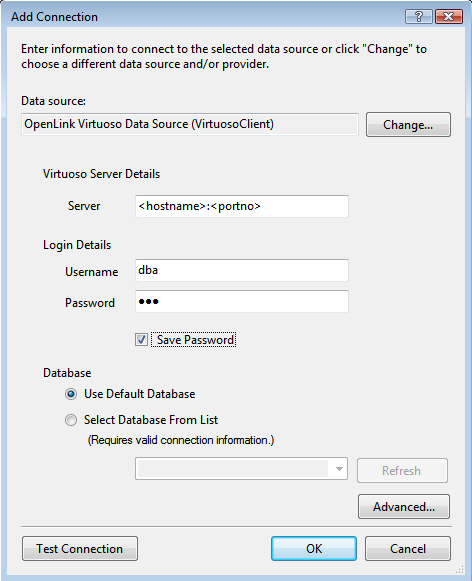
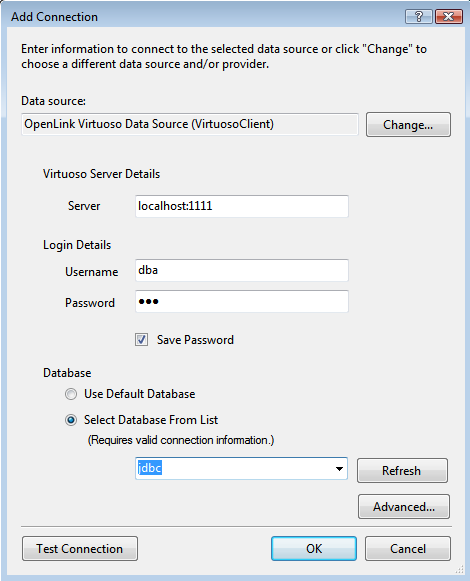
- In the Add Connection dialog, specify the hostname, portno, username, and password for the target Virtuoso Server and and check the Save Password check box.
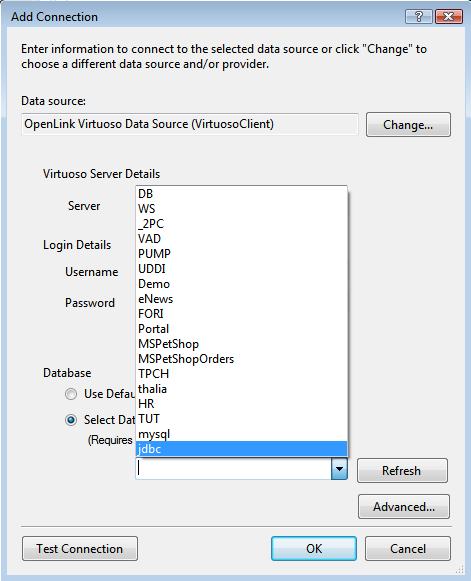
- Select the Select Database From List radio button and choose the jdbc database from the drop down list.
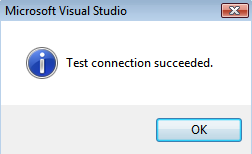
- Press the Test Connection dialog to verify the database is accessible.
- Click OK to add the connection.
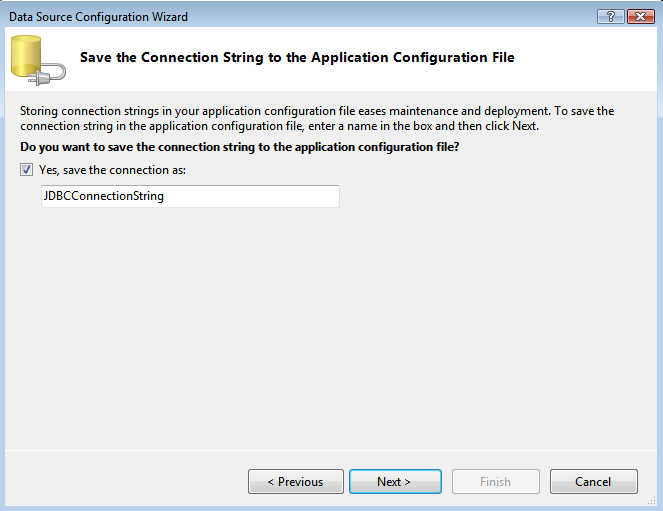
- Leave the default connect string name--
JDBCConnectionString--and click Next.
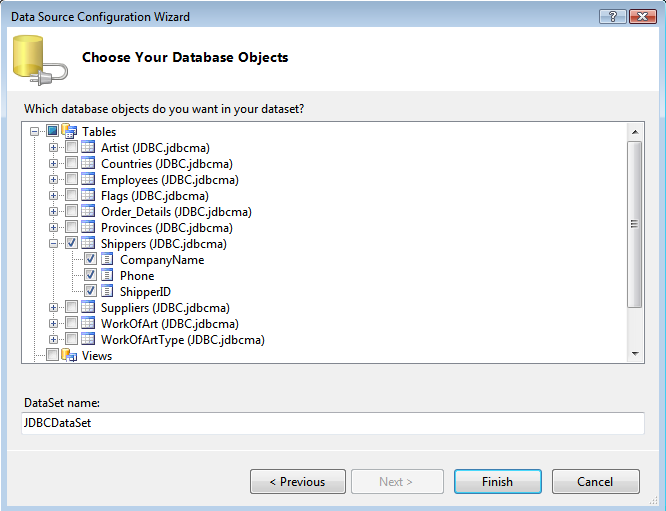
- From the list of available tables returned for the JDBC database, select the Shippers table to be associated with the
DataGridView control.
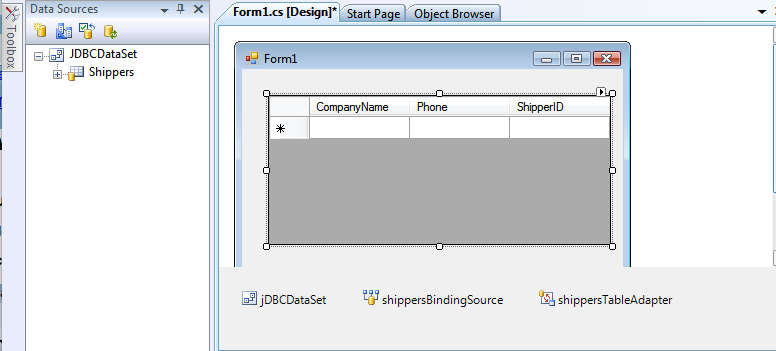
- The column names of the selected table will be displayed in the the
DataGridView.
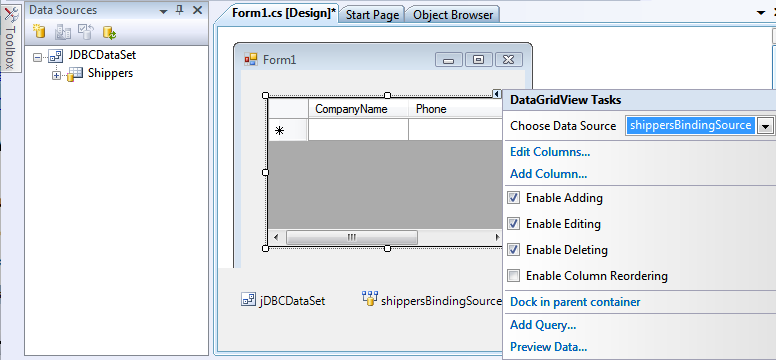
- Resize the form and
DataGridView to allow all columns to be visible, if possible.
- To test the application, simply hit Ctrl+F5 within Visual Studio or select Start Debugging from the Debug menu.

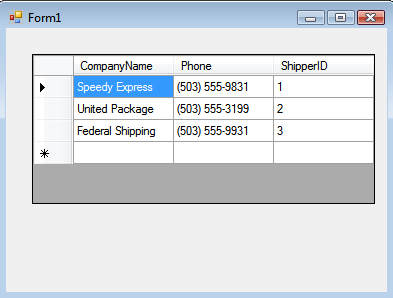
- The data from the Shippers table will be displayed in the
DataGrid.
The task is now complete.