Virtuoso Certificate Authority Setup
The steps that follow guide you through the process of setting up your Virtuoso instance to issue CA-Authority-notarized X.509 certificates that include
Prerequisites
The following packages should be installed:
Generating CA-Authority Certificate (.p12 or .pfx)
Manually Generating CA-Authority Certificate
- Go to the
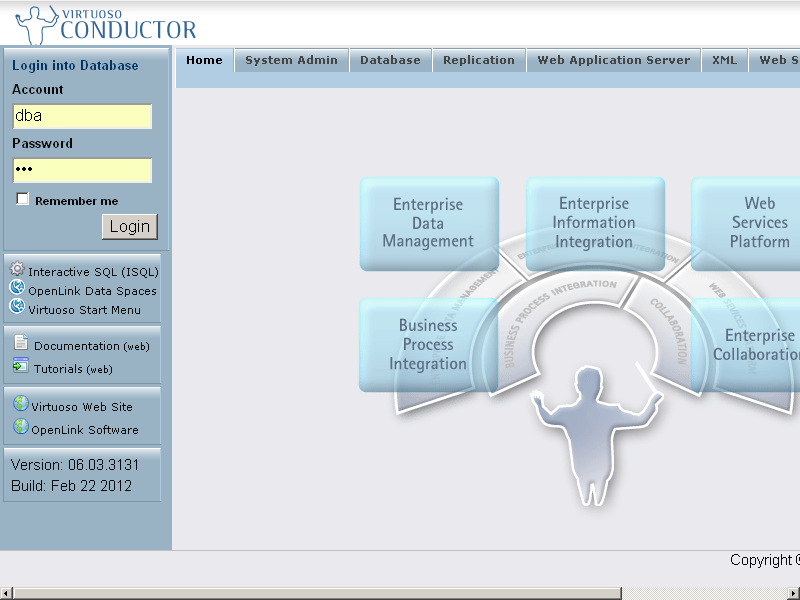
http://cname:port/conductorURL, enter the DBA user credentials. - Go to System Admin → Security
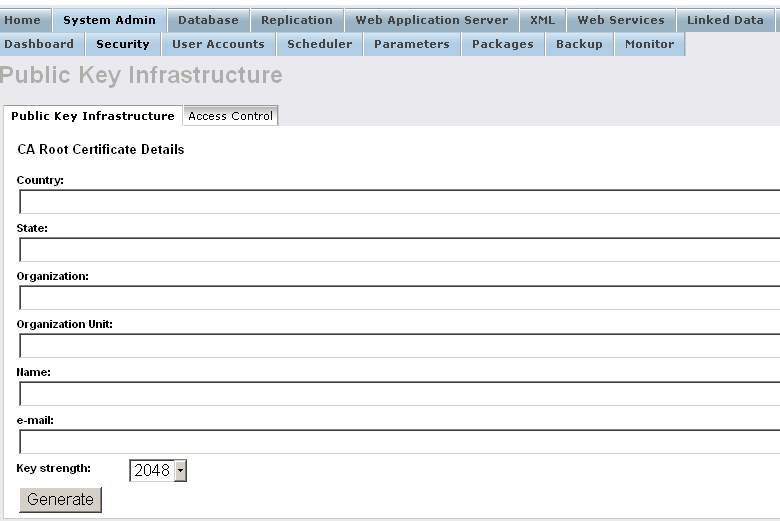
- Fill in the form.
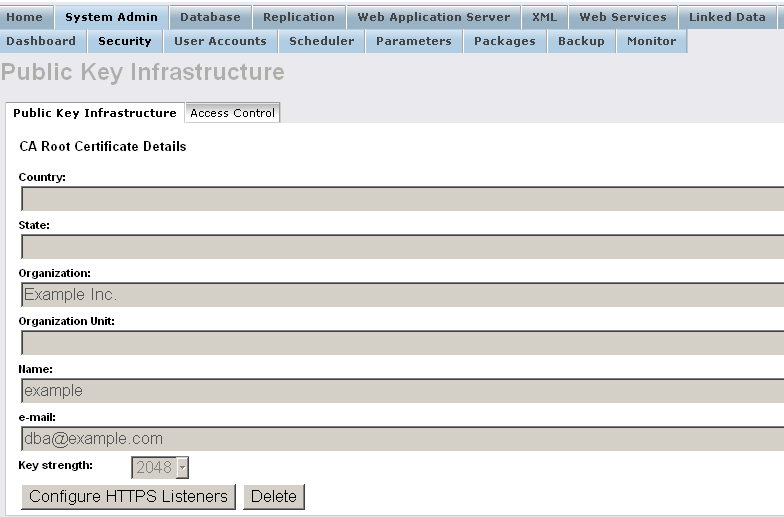
For example:
- Country: US
- State: MA
- Organization: Example Inc.
- Organization Unit: Example
- Name: Root CA
-
e-mail: dba@example.com
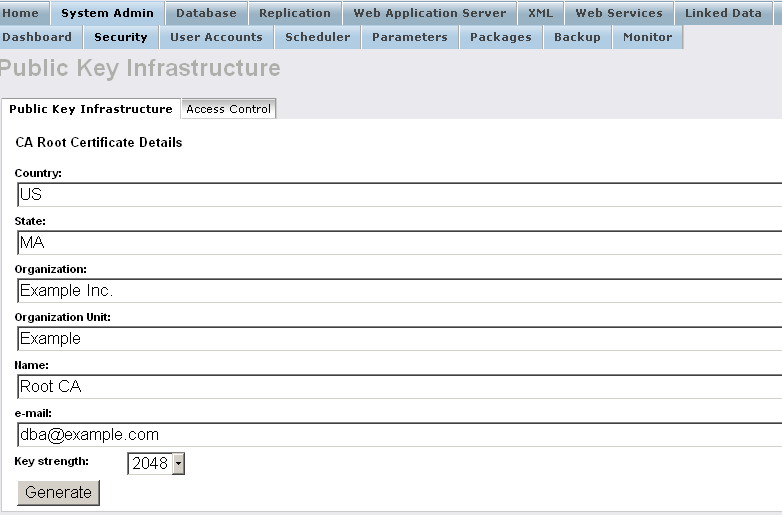
- Click Generate.
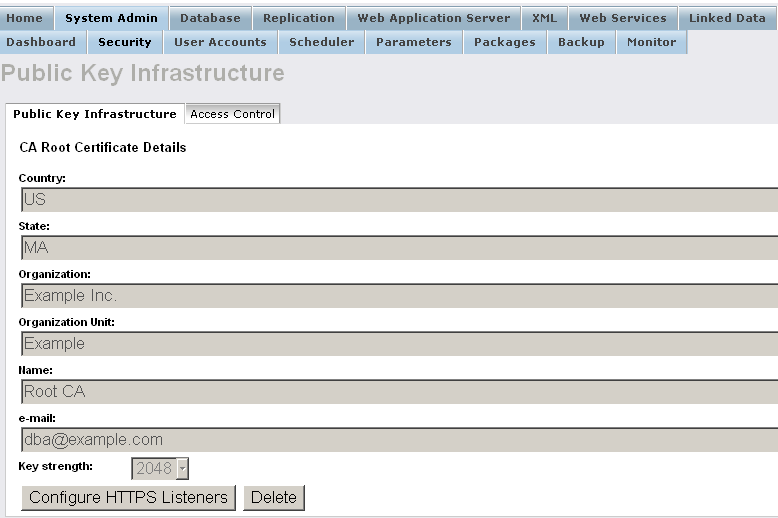
- The CA-Authority Certificate should be successfully generated:
Importing CA-Authority Certificate
-
Generate CA-Authority Certificate that:
- has
http://localhost:8890/dataspace/person/dba#thisasWebID - is Certification Authority (CA) Identity
- has Self-Signed Issuer
- has
- Go to the
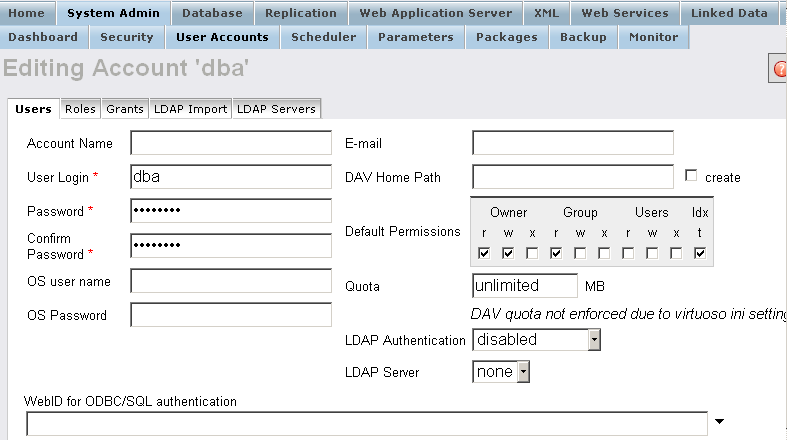
http://cname:port/conductorURL, enter the "dba" user credentials. - Go to System Admin → User Accounts.
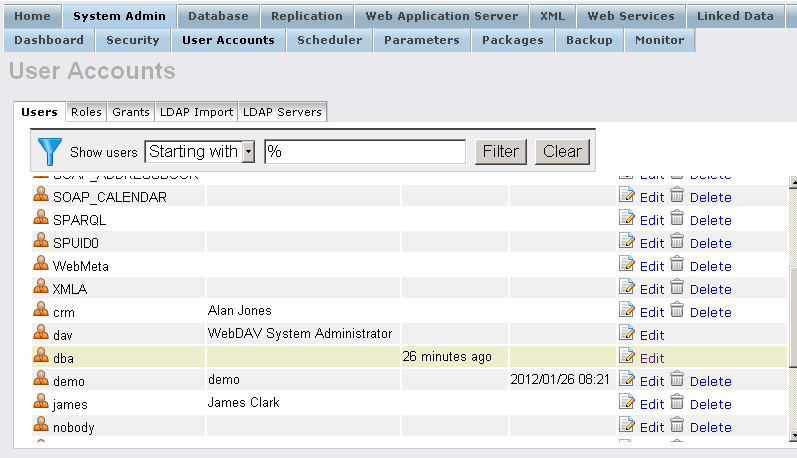
- For user dba, click Edit:
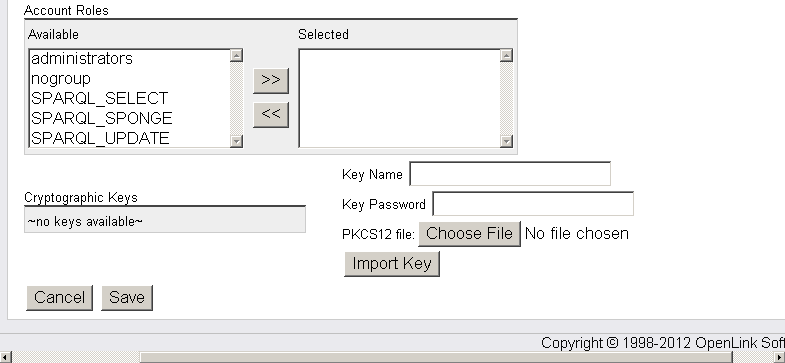
- In the presented form for PKCS12 file, click Choose File and select your CA Certificate; for example, with name example.p12:
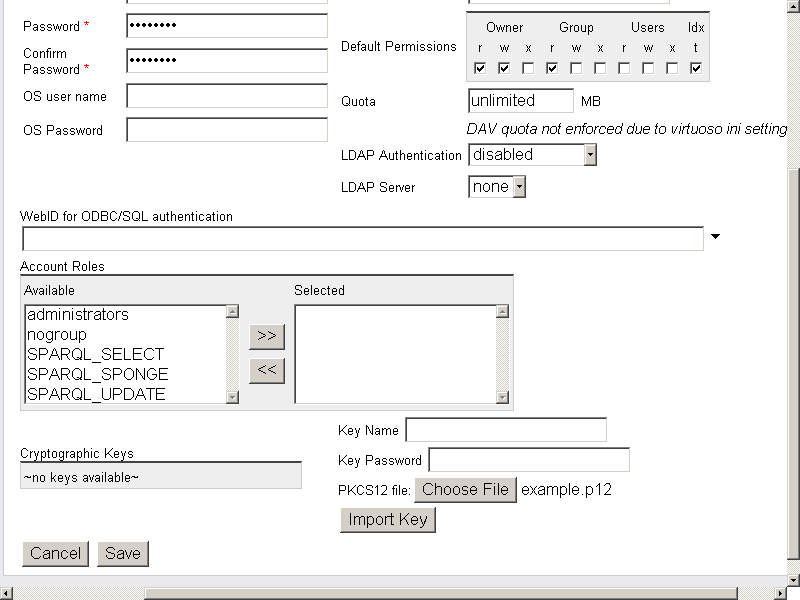
- Enter Key Name
id_rsaand Key Password the password your CA Certificate has:
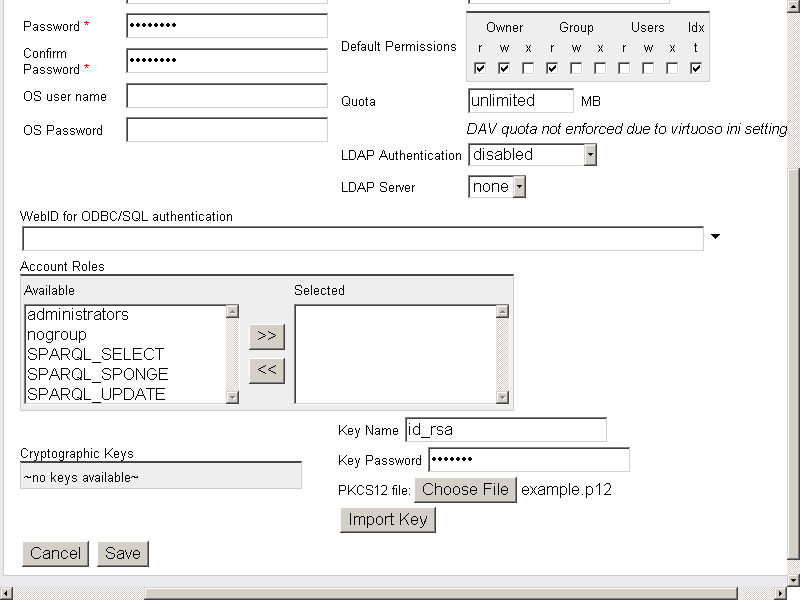
- Click Import Key
- On a successful import, the certificate should now be presented in the Cryptographic Keys list:
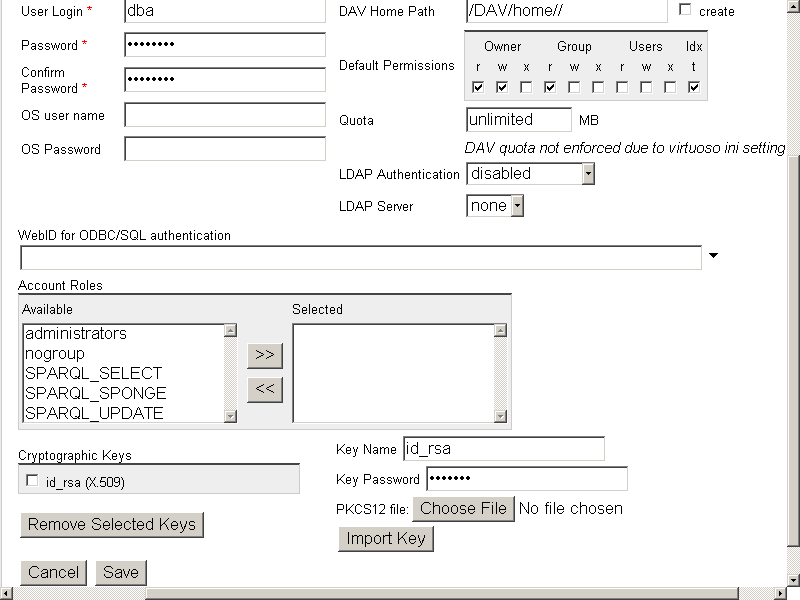
- Click Save
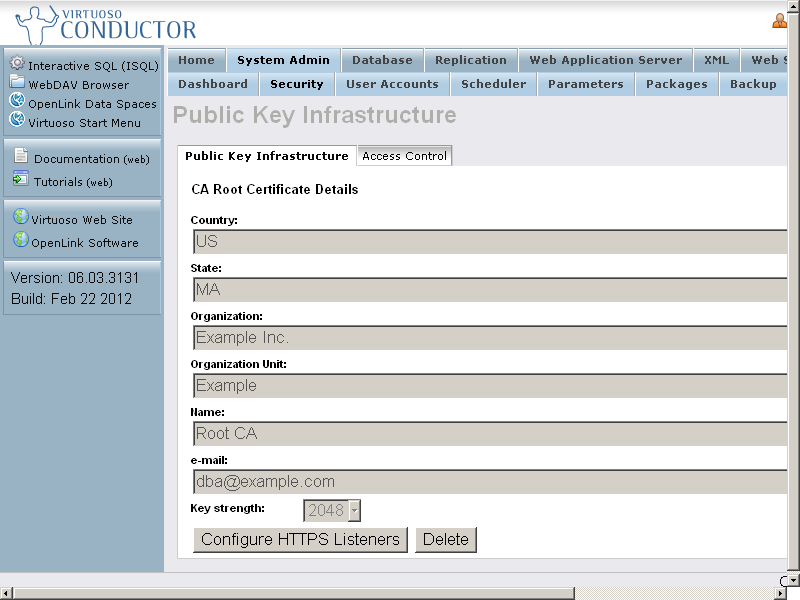
- Go to System Admin → Security → Public Key Infrastructure
- The CA Certificate Details should be presented:
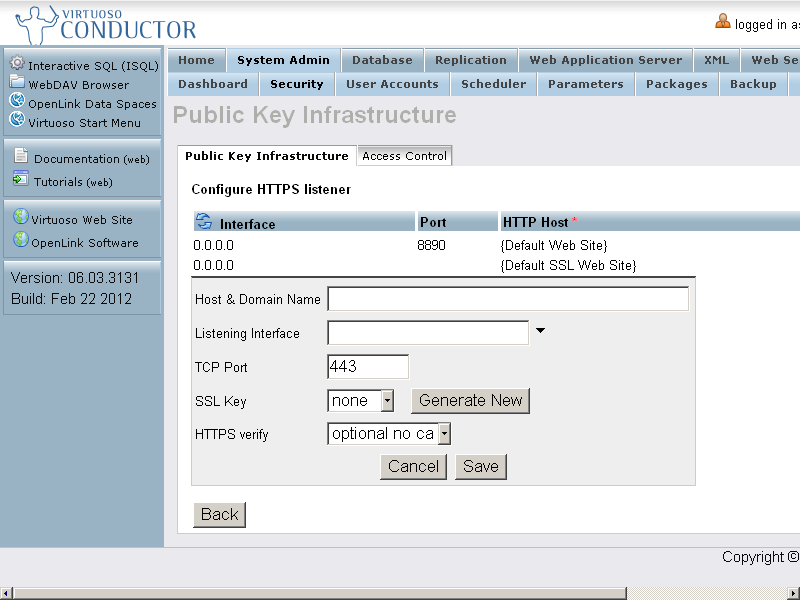
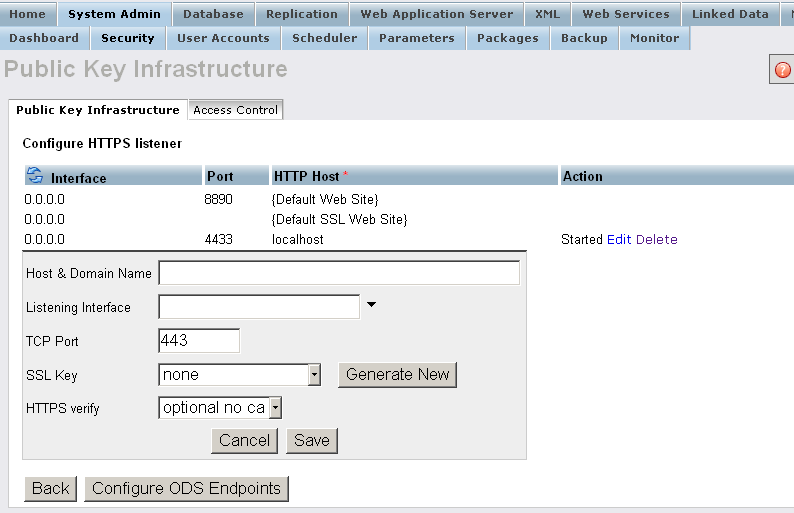
Generating SSL Key Using the Conductor UI
Note The following assumes the CA-Authority Certificate has been generated/imported already, as through the sections above.- Go to the
http://cname:port/conductorURL, enter the DBA user credentials.
- Go to System Admin → Security.
- Click Configure HTTPS Listeners
- Edit the new listener, and click Generate New
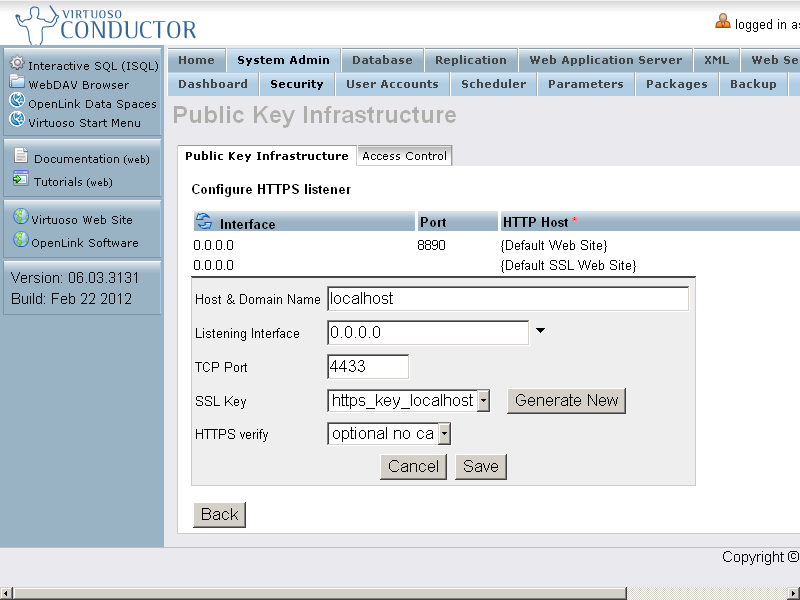
- Click Save
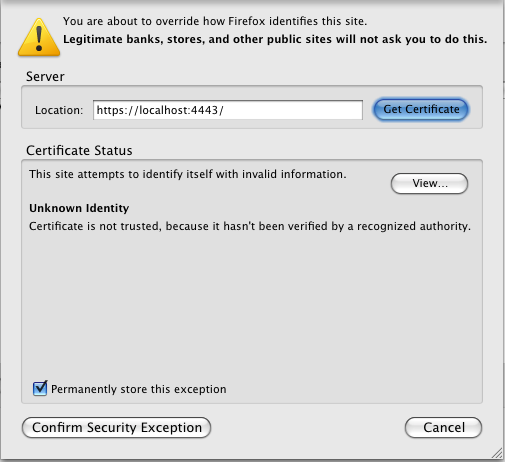
Setting Up Firefox
- In the Preferences dialog, open the Advanced tab, and click the View certificates button.
- Click the Add exception button and enter the address of the HTTPS server you've just configured, i.e.,
https://virtuoso.example.com:4433/ - Click OK, and confirm the exception.
Related
- Safeguarding your Virtuoso-hosted SPARQL Endpoint
- SPARQL Endpoint Protection Methods Collection
- Virtuoso documentation
- Virtuoso Tips and Tricks Collection
- SPARUL over SPARQL using the http://cname:port/sparql-auth endpoint
- Virtuoso Authentication Server UI
- Manage a SPARQL-WebID based Endpoint
- Configure Virtuoso instance as an X.509 Certificate Authority and HTTPS listener
- Configure Virtuoso+ODS instance as an X.509 Certificate Authority and HTTPS listener
- WebID Protocol Support in OpenLink Data Spaces.
- Manage ODS Dataspaces Objects
WebID Access Control Lists (ACLs): - Guide for Set up a X.509 certificate issuer and HTTPS listener and generate ODS user certificates.
- Setting up PubSubHub in ODS
- PubSubHubBub Demo Client Example
- Feed subscription via PubSubHub protocol Example
- Setting Up PubSubHub to use WebID Protocol or IP based control lists
- CA Keys Import using Conductor
- Generate an X.509 Certificate hosted WebID Guide
- Generate an X.509 Certificate (with a WebID watermark) to be managed by host operating system keystore
- Generate an X.509 Certificate (with a WebID watermark) to be managed by a browser-based keystore
- Using Virtuoso's WebID Verification Proxy Service with a WebID-bearing X.509 certificate
- Using Virtuoso's WebID Identity Provider (IdP) Proxy Service with an X.509 certificate
- ODS Briefcase WebID Protocol Share File Guide
- WebID Protocol Specification
- Test WebID Protocol Certificate page
- WebID Protocol Certificate Generation page