Visualizing Your Data With PivotViewer
Microsoft's PivotViewer Silverlight control is a great way to explore datasets in a web browser. The Virtuoso PivotViewer application extends this control to add options to plot the data on a map and to view the raw collection data. This guide shows you how to install and configure the Virtuoso PivotViewer application to view existing data sets and how to configure Virtuoso so that you can generate collections from your own data.
Part 1. Viewing Collections
Prerequisites
- A Virtuoso Server with the following VAD packages installed:
- The C_uri VAD (c_uri_dav.vad). This package contains a URL shortener that the PivotViewer application relies on to shorten the very long URIs that can result from generating a collection from a query.
- The PivotViewer VAD (pivot_dav.vad). This package contains the PivotViewer application.
- The PivotViewer is a Silverlight application, so you will also need a browser running Silverlight. On Mac that can be Safari, Firefox, Chrome, or Opera; and on Windows that can be Internet Explore or Firefox. On Linux, the application will require a browser running Moonlight, however the current version of Moonlight does not support the PivotViewer control; hopefully this will be resolved soon.
Once these two packages are installed, viewing an existing collection is as simple as pointing your browser to the PivotViewer application on your server, i.e. --
http://your server address:your server port/PivotViewer
-- and typing the collection address in the box on the page.

Alternatively, you can specify the address of the collection as a parameter to the URL, e.g. --
http://your server address:your server port/PivotViewer?url=http%3A%2F%2Ftweetpivot.com%2Fcollections%2Ffriends_kidehen.cxmlNote: The collection address must be URL Encoded if given as part of the URL.
You can now start exploring existing pivot collections.
Part 2. Generating your own Collections
Once you have the PivotViewer installed, you will want to start generating pivot collections from your own data. There are a number of ways ways you can do this.
One method is to generate a collection from the results of a SPARQL query. The PivotViewer includes its own SPARQL query editor, or you can use the SPARQL endpoint on any Virtuoso server.
Alternatively, you can generate a collection from a result set created in the facet browser.
You will need to install some additional packages, whichever method you use.
Prerequisites
- The SPARQL-CXML VAD (sparql_cxml_dav.vad). This package supports generating a collection from a SPARQL endpoint, and it is also required to use the SPARQL editor in the Virtuoso PivotViewer. It also installs some example data that will be used in the rest of this guide.
- The Virtuoso ImageMagick and QR Code plugins need to be enabled.
In your
virtuoso.ini, in the[Plugins]section, make sure you have lines for "plain, im" and "plain, qrcode", like this --
[Plugins]
LoadPath=../hosting
...
Load6=plain, im
Load7=plain, qrcode
Remember to restart Virtuoso if you make any changes to yourvirtuoso.ini.
2.1 Generating a Collection from a SPARQL Query In PivotViewer
The PivotViewer application contains its own SPARQL editor.
In this example, you will see how to generate a collection from a simple DESCRIBE query; and also how to generate a collection from a SPARQL SELECT query, and then modify the query to meet your specific requirements.
2.1.1 Generating the Collection - Using a SPARQL DESCRIBE
Point your browser at the PivotViewer application on your server, i.e. --
http://your server address:your server port/PivotViewer
-- and then select the Edit link in the top-right-corner.
You can type your query directly into the Query Text box in the form.
The simplest way to get an overview of the data in a particular graph is to use a SPARQL DESCRIBE query.
For example:
DESCRIBE ?s
  FROM <http://pivot_test_data/ski_resorts>
  WHERE {?s  ?p  ?o}
creates a collection where each item is a ski resort with various facets giving further information about each resort.
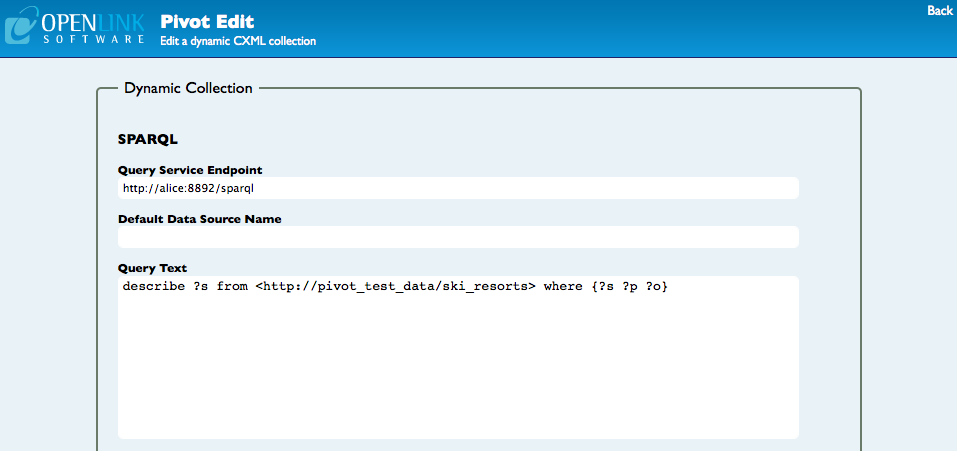
Click on the View button at the foot of the page to view the collection in PivotViewer.
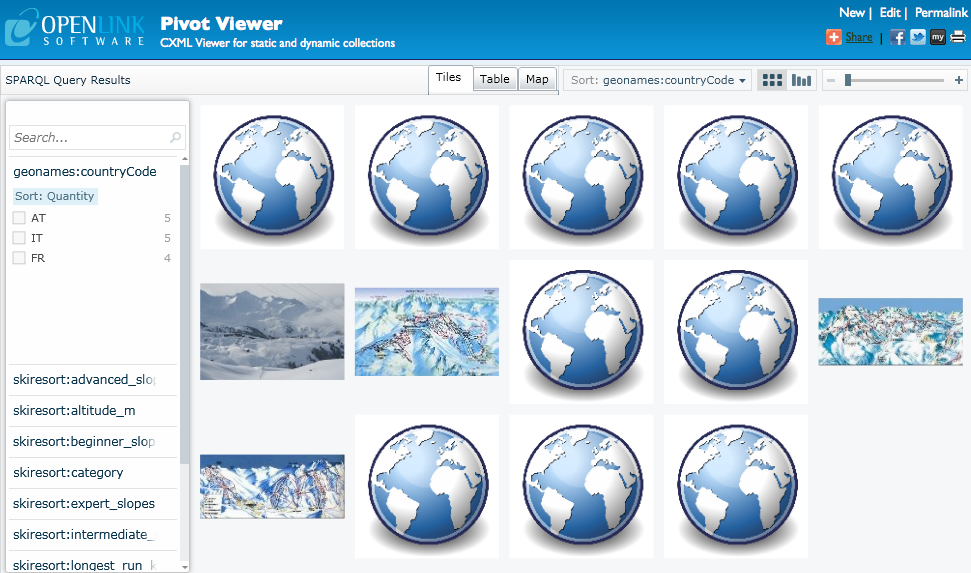
2.1.2 Generating the Collection - Using a SPARQL SELECT
If you want more control over the way the collection is generated from your data you can use a SELECT query.
This simple SELECT query will return all of the items in the http://pivot_test_data/ski_resorts graph, part of the example dataset.
In the following sections you will see how this simple query can be modified to change the way that collection is generated.
SELECT *
  FROM <http://pivot_test_data/ski_resorts>
  WHERE {?s ?p ?o}
Execute the query and display the results in PivotViewer by clicking the View button at the foot of the edit form.
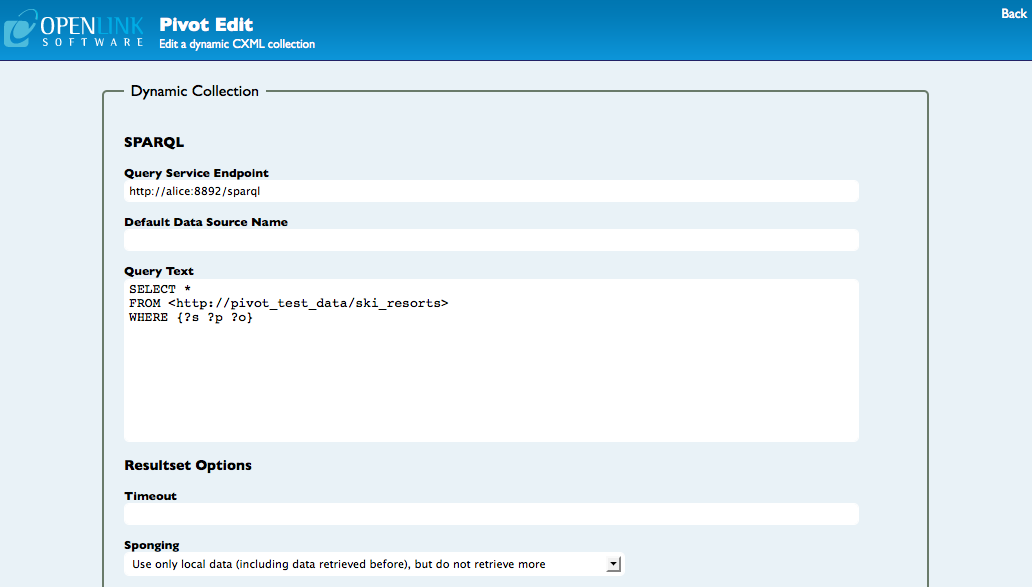
You should see the collection like this:
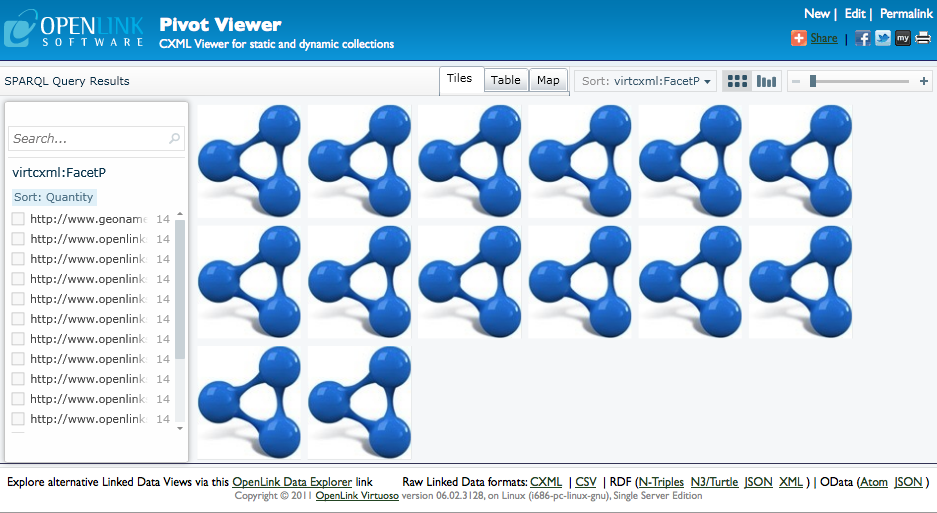
If you want to save or share the query, you can do so using the permalink at the top-right-corner of the page. If you need to fine tune your query, you can return to the editor by clicking on the Edit link. For example, the query that we used to generated this first collection gives us all the items in the ski resorts graph. We can easily change it to get the items in the campsite graph by changing the from clause in the query:
SELECT *
  FROM <http://pivot_test_data/campsites>
  WHERE {?s ?p ?o}
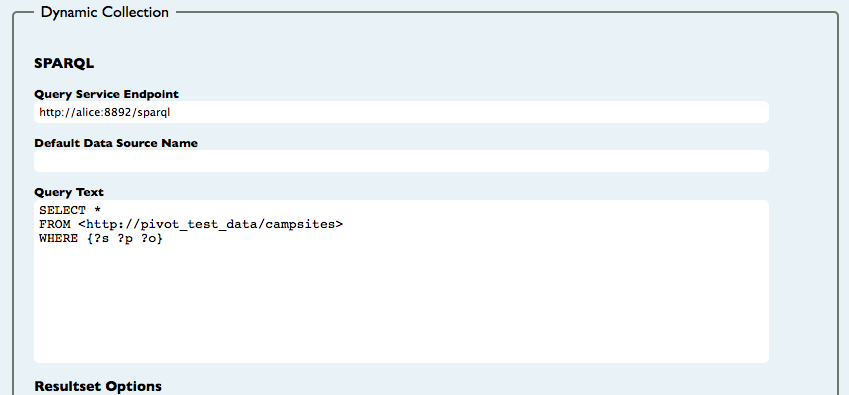
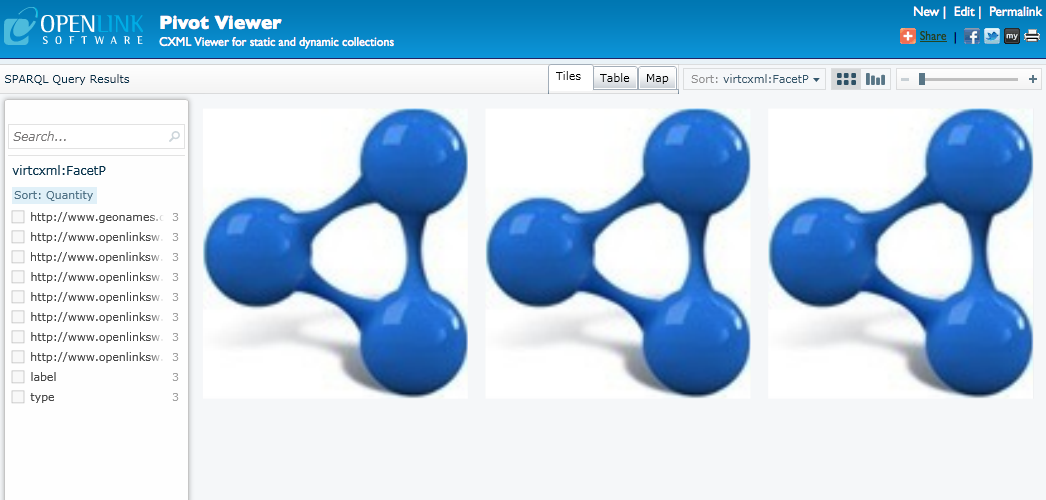
Then click on View to see the new collection.
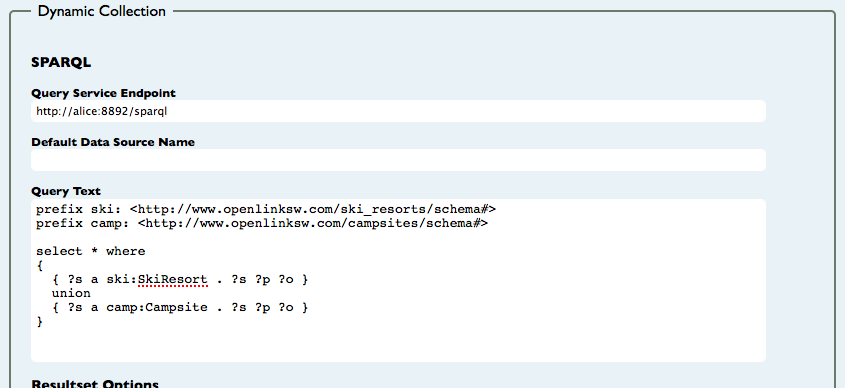
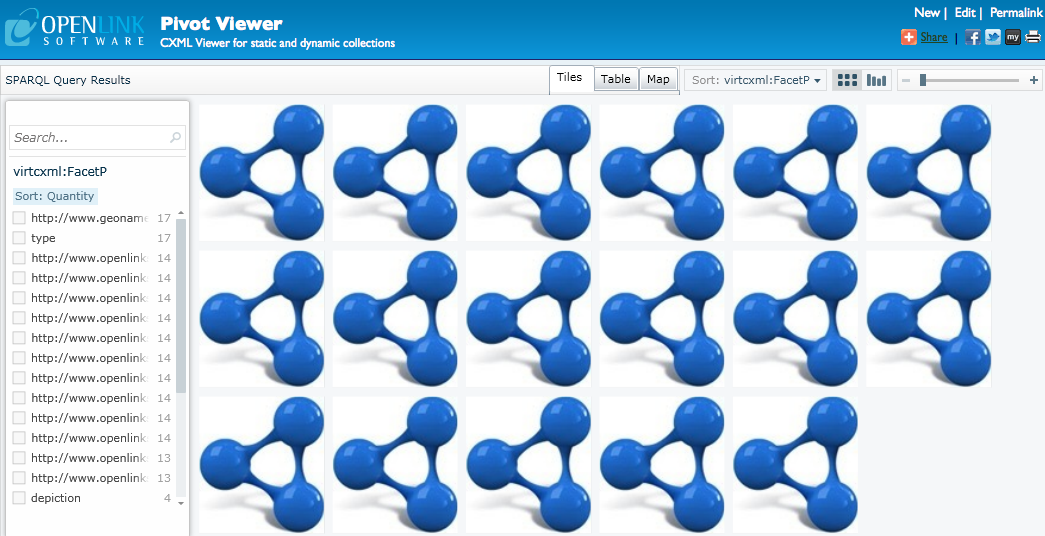
Alternatively, we can see both campsites and ski resorts using the following query:
PREFIX  ski:   <http://www.openlinksw.com/ski_resorts/schema#>
PREFIX  camp:  <http://www.openlinksw.com/campsites/schema#>

SELECT *
  WHERE
  {
    { ?s  a   ski:SkiResort  .
      ?s  ?p  ?o
    }
    UNION
    { ?s  a   camp:Campsite   .
      ?s  ?p  ?o
    }
  }
2.1.3 Item Images
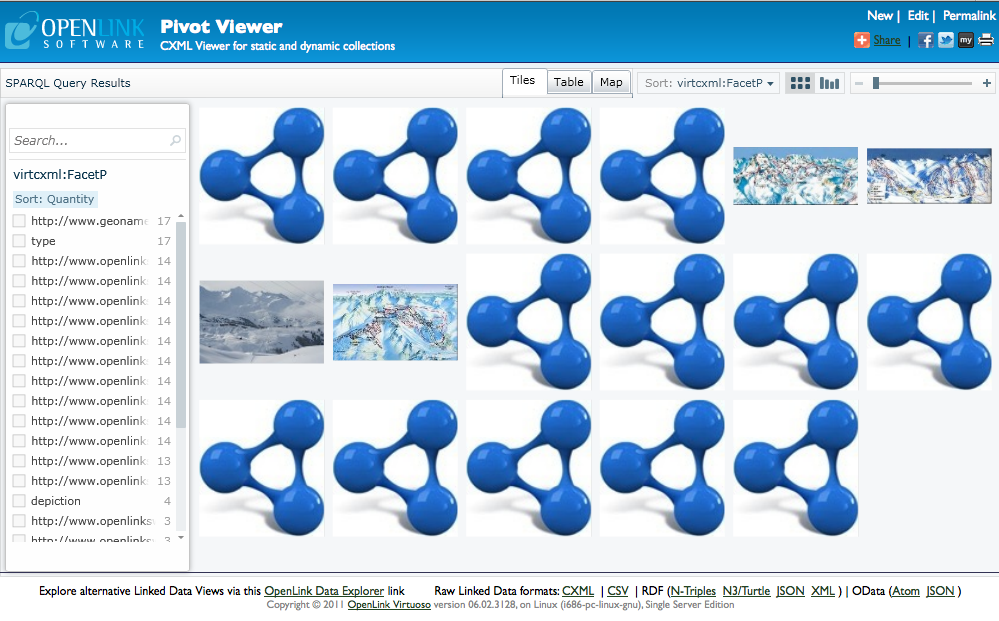
In the examples so far, all items are represented by the same icon.
It would be helpful if different items had different images.
We have reserved some special variables in the SPARQL query to help control collection generation, and one of those variables is ?image.
If we can find an image of the item in the collection and call it ?image, then when the collection is generated that item will be represented by its image.
So, for example, we can use the following query to find images of some of the ski resorts in the example dataset --
PREFIX  ski:   <http://www.openlinksw.com/ski_resorts/schema#>
PREFIX  camp:  <http://www.openlinksw.com/campsites/schema#>

SELECT *
  WHERE
  {
    { ?s  a   ski:SkiResort  .
      ?s  ?p  ?o             .
      OPTIONAL { ?s  foaf:depiction  ?image }
    }
    UNION
    { ?s  a   camp:Campsite   .
      ?s  ?p  ?o              .
      OPTIONAL { ?s  foaf:depiction  ?image }
    }
  }
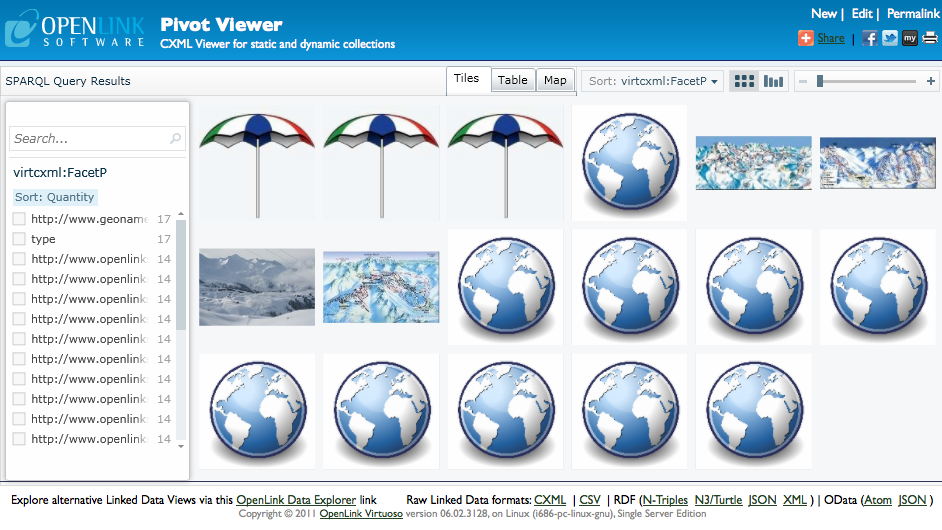
It would also be helpful to distinguish between the different types of items; in this case, the ski resorts (without images) and the campsites.
Even if an item does not have its own image, we can change the default image depending on the type of the item.
To do this we use another reserved variable, ?itemtype.
Our example query then becomes --
PREFIX  ski:   <http://www.openlinksw.com/ski_resorts/schema#>
PREFIX  camp:  <http://www.openlinksw.com/campsites/schema#>

SELECT *
  WHERE
  {
    { ?s  a   ski:SkiResort .
      ?s  ?p  ?o            ;
          a   ?itemtype     .
      OPTIONAL { ?s  foaf:depiction  ?image }
    }
    UNION
    { ?s  a   camp:Campsite  .
      ?s  ?p  ?o             ;
          a   ?itemtype      .
      OPTIONAL { ?s  foaf:depiction  ?image }
    }
  }
-- and we can clearly see which items are campsites.
2.1. Item Names
If one of the campsite or ski resort items is selected in PivotViewer, the info box opens on the righthand side of the page.
It is headed with the name of the item, but in our example that name is in fact a URI for the item.
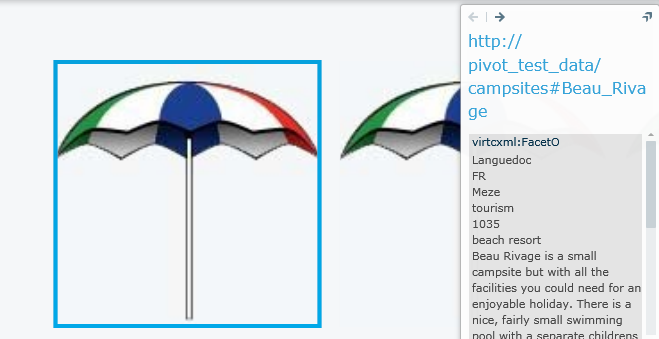
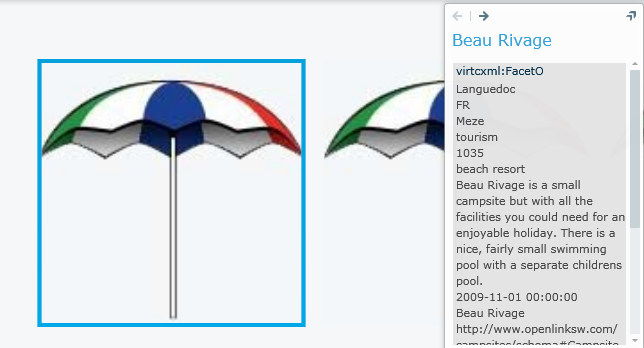
In our example, just the name of the item would be sufficient, and it would be more readable.
In the case of the campsites, we can use the rdfs:label as the name, while in the case of the ski resorts, we need to use the ski:resort_name.
The pattern is optional in case some of the items do not have the necessary attribute defined --
PREFIX  ski:   <http://www.openlinksw.com/ski_resorts/schema#>
PREFIX  camp:  <http://www.openlinksw.com/campsites/schema#>

SELECT *
  WHERE
  {
    { ?s a  ski:SkiResort .
      ?s ?p ?o            ;
         a  ?itemtype     .
      OPTIONAL { ?s  ski:resort_name  ?name  } .
      OPTIONAL { ?s  foaf:depiction   ?image }
    }
    UNION
    { ?s  a   camp:Campsite  .
      ?s  ?p  ?o             ;
          a   ?itemtype      .
      OPTIONAL { ?s  rdfs:label       ?name } .
      OPTIONAL { ?s  foaf:depiction  ?image }
    }
  }
2.1.5 Facets
The collection we are have generated has two facets, called virtcxml:FacetP and virtcxml:FacetO, that map to the predicate (?p) and object (?o) as returned by the simple, generic ?s ?p ?o pattern that we have in the WHERE clause of the SPARQL SELECT that we are using.
We can control which facets the items in the collection have by having a separate pattern for each facet that we are interested in, and by giving them meaningful names.
Some facets will be available on all items, while some will only be relevant to one type of item.
For example, all items in our collection have a country code, but only the ski resorts have altitude facets.
PREFIX  ski:   <http://www.openlinksw.com/ski_resorts/schema#>
PREFIX  camp:  <http://www.openlinksw.com/campsites/schema#>

SELECT *
  WHERE
  {
    { ?s  a                        ski:SkiResort         .
      ?s  a                        ?itemtype             ;
          geonames:countryCode     ?country              ;
          ski:resort_name          ?name                 ;
          ski:beginner_slopes      ?beginner_slopes      ;
          ski:intermediate_slopes  ?intermediate_slopes  ;
          ski:advanced_slopes      ?advanced_slopes      ;
          ski:expert_slopes        ?expert_slopes        ;
          ski:altitude_m           ?altitude             .
      OPTIONAL { ?s  foaf:depiction  ?image }
    }
    UNION
    { ?s  a                        camp:Campsite         .
      ?s  a                        ?itemtype             ;
          geonames:countryCode     ?country              ;
          rdfs:label               ?name                 ;
          campsite:resort_type     ?resort_type          ;
          campsite:resort          ?resort               ;
          campsite:region          ?region               ;
          campsite:category        ?category             .
      OPTIONAL { ?s  foaf:depiction  ?image }
    }
  }
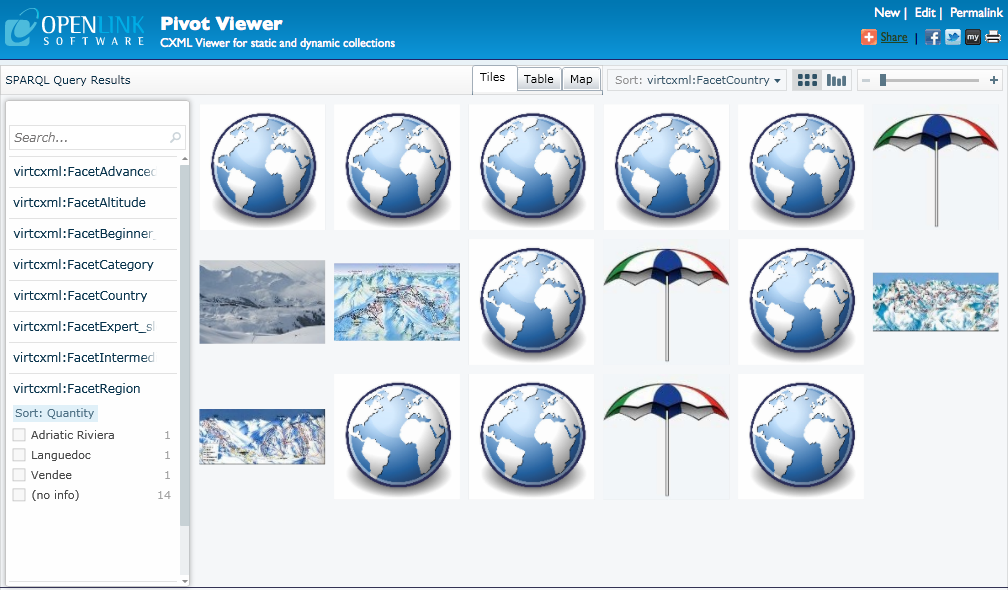
2.1.6 Mapping Items
If the items in the collection have a facet that ties them to a place, then the PivotViewer can plot them on a map.
The only change that we need to make is to rename the relevant facet to ?location.
?location, ?latitude, and ?longitude are examples of reserved variables that have special meaning to PivotViewer.
If an item has both ?latitude and ?longitude facets, then these coordinates can be used to plot the item.
Otherwise, the string contained in the ?location facet is first sent to a geocoding service.
In our example, we use ski:resort_name and campsite:resort for the ?location facet.
PREFIX  ski:   <http://www.openlinksw.com/ski_resorts/schema#>
PREFIX  camp:  <http://www.openlinksw.com/campsites/schema#>

SELECT *
  WHERE
  {
    { ?s  a                        ski:SkiResort         .
      ?s  a                        ?itemtype             ;
          geonames:countryCode     ?Country              ;
          ski:resort_name          ?name                 ;
          ski:resort_name          ?location             ;
          ski:beginner_slopes      ?beginner_slopes      ;
          ski:intermediate_slopes  ?intermediate_slopes  ;
          ski:advanced_slopes      ?advanced_slopes      ;
          ski:expert_slopes        ?expert_slopes        ;
          ski:altitude_m           ?altitude             .
      OPTIONAL { ?s  foaf:depiction  ?image }
    }
    UNION
    { ?s  a                     camp:Campsite            .
      ?s  a                     ?itemtype                ;
          geonames:countryCode  ?Country                 ;
          rdfs:label             ?name                   ;
          campsite:resort_type  ?resort_type             ;
          campsite:resort       ?resort                  ;
          campsite:resort       ?location                ;
          campsite:region       ?region                  ;
          campsite:category     ?category                .
      OPTIONAL { ?s foaf:depiction ?image }
    }
  }
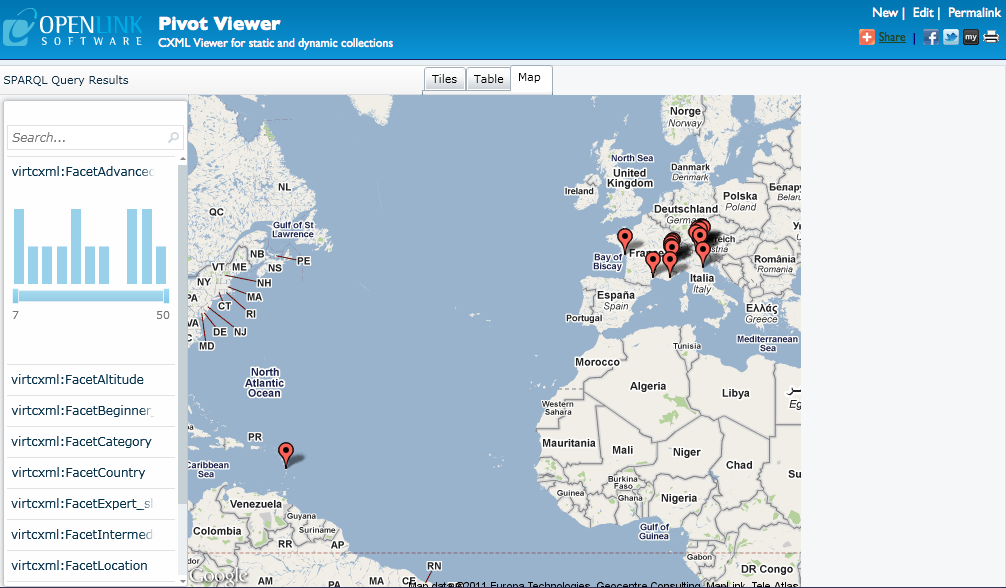 Note: the map shown in this example is a static map.
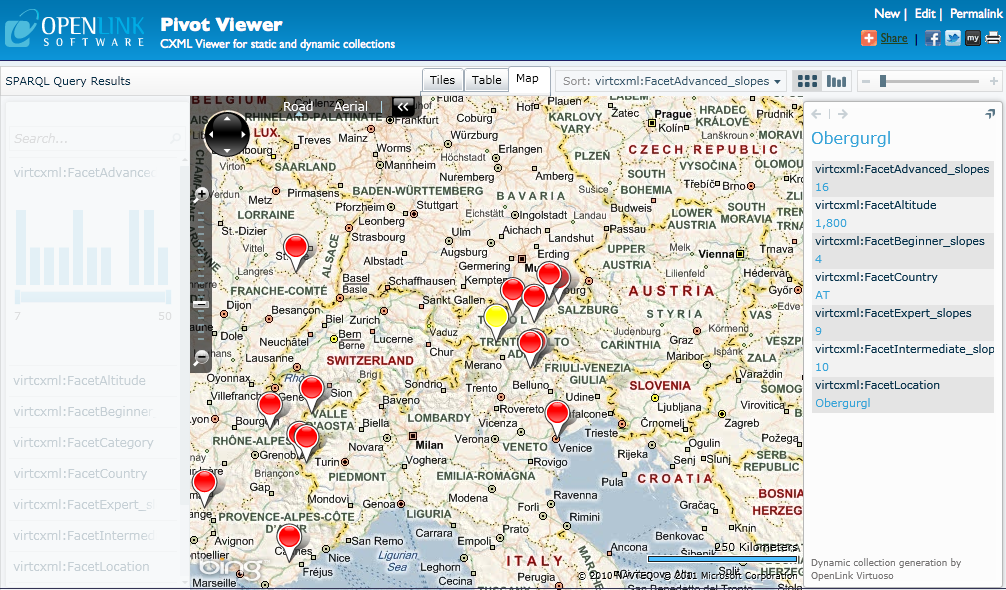
The PivotViewer can display location information on a fully-interactive Bing map, but this requires that you install a Bing map key in the Virtuoso registry.
A Bing map key can be obtained by creating an account at the Bing Maps Account Center.
Once you have a key, you need to register it with Virtuoso using iSQL and the command:
 registry_set ('_pivot_BingMapsKey','XXX');
where 'XXX' is replaced with your key.
Once the key is installed, the items will be displayed on an interactive map that allows zooming and selecting.
2.2 Generating a Collection from a SPARQL Endpoint
The SPARQL-CXML VAD package extends the Virtuoso SPARQL endpoint to add "CXML collection" as an alternative output format for query results. This example uses the same basic query that was used in the previous section, but executes it in the Virtuoso SPARQL endpoint.
2.2.1 Generating the Collection
The first step in generating the collection is the SPARQL query that returns the results that you are interested in. Point your browser at the Virtuoso SPARQL endpoint. It will be here:
http://your server address:your server port/sparql
The following query will return all items in the http://pivot_test_data/ski_resorts graph, part of the example dataset --
SELECT *
  FROM <http://pivot_test_data/ski_resorts>
  WHERE {?s  ?p  ?o}
By default, the results will be shown as a table in your browser.
We need the results as a PivotViewer collection.
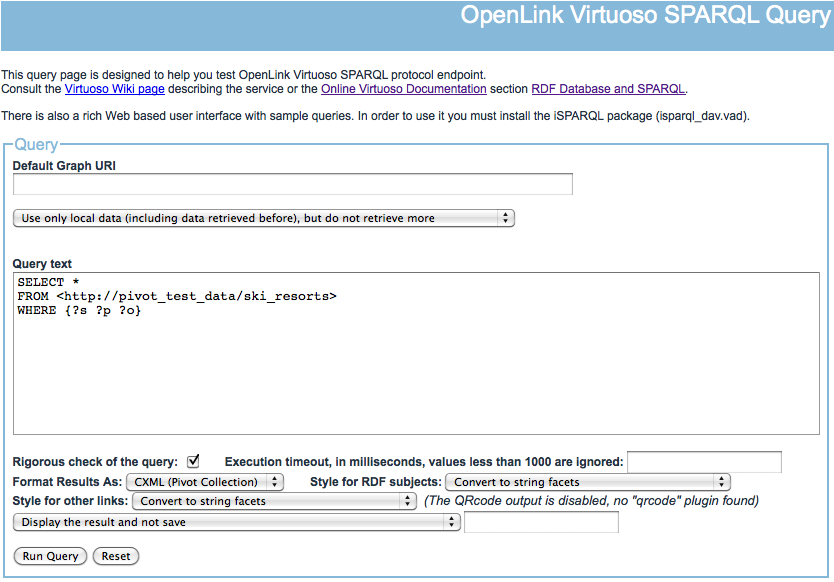
Alternate result formats can be selected in a drop-down box below the query form.
Choose CXML (Pivot collection) --
Run the query and, depending on your browser, the result set may now be displayed as XML.
If you are using Safari, you will just see a blank page, but if you view the source of the page you will see the XML.
To use this collection in PivotViewer, you simply copy the contents of the browser's address bar, and use that as the collection address in PivotViewer.
So, open PivotViewer, paste the address from the SPARQL query results in the collection URL box, and click submit.

You should see the collection like this:

Once you have opened the collection in PivotViewer, any additional editing of the query can be done using the PivotViewer editor by simply clicking on the Edit link at the top right hand corner.
Tip: If a query in the PivotViewer editor is failing, pasting it into the Virtuoso SPARQL endpoint and attempting to run it there may reveal some additional error information which may help you resolve the problem.2.3 Generating a Collection Using The Facet Browser
Using the Facet browser to create collections requires some extra packages. Once these packages are installed, generating the collection is very straightforward. You use the Facet browser to create a result set; then click on the Make Pivot Collection link.
Prerequisites
- The Cartridges VAD (cartridges_dav.vad). This package provides base RDF functionality and the Sponger framework for converting non-RDF data to RDF.
- The Virtuoso Facets web service (fct_dav.vad) A general purpose RDF query facility for facet based browsing.
- The Facet Pivot Bridge (fct_pivot_bridge.vad). This package extends the Facets web service so a collection can be generated from the faceted query result sets.
2.3.1 Generating the Collection
The Facet browser service will be found at
http://your server address:your server port/fct

Type the word "resort" in the search box.
This should find both the campsites and the ski resorts.
The result set can be manipulated to only include the items that you are interested in.
For example, by selecting Types in the Entity Relations Navigation pane, you can limit the result set to just items of the type ski:SkiResort.
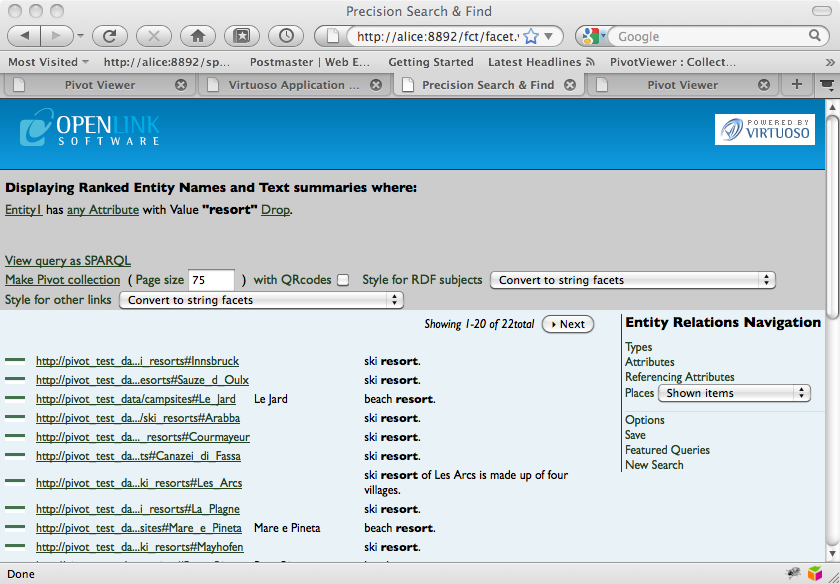
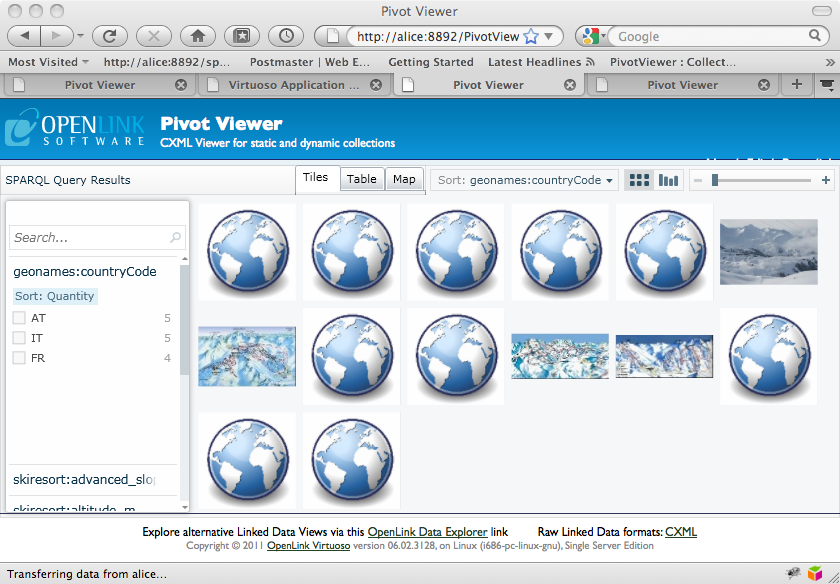
Once you have the result set that you want, click on the Make Pivot Collection link at the top of the page.
This creates the collection, and opens it in PivotViewer.
2.4 Generating a Collection from iSPARQL
To generate a collection from the iSPARQL interface, you will need to install an extra package.
Prerequisites
- The iSPARQL VAD (isparql_dav.vad). This package installs iSPARQL, a graphical utility for building and executing SPARQL queries.
2.4.1 Generating the Collection
Point your browser at the iSPARQL interface on your server. It can be found at
http://your server address:your server port/isparql
It will open to a page like this:
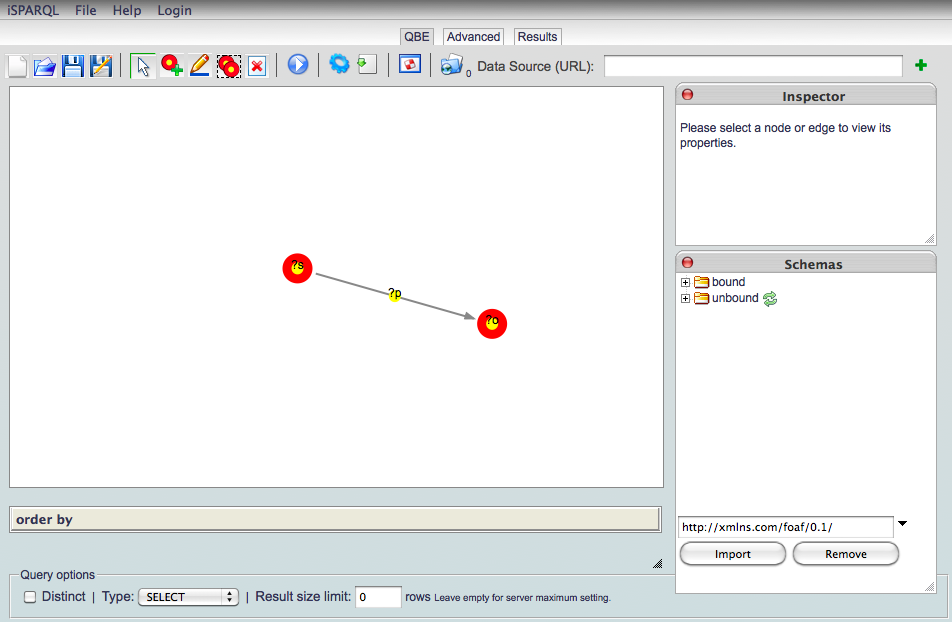
From the three tabs in the top center, choose the Advanced tab.
This will open a page where you can type in a query.
Use the following DESCRIBE query:
DESCRIBE ?s
  FROM <http://pivot_test_data/ski_resorts>
  WHERE {?s  ?p  ?o}
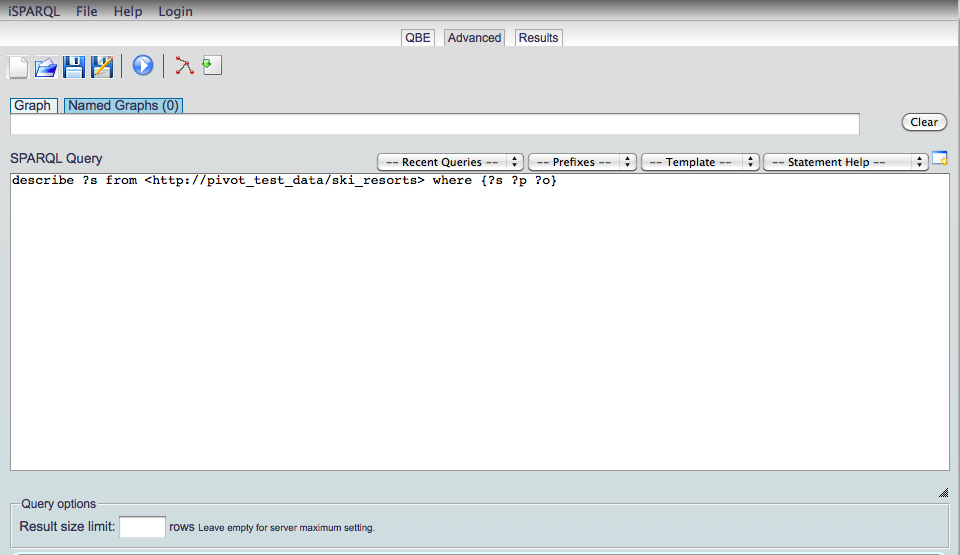
Click on the arrow-in-a-blue-circle to run the query.
The results page will be opened, showing the ski resorts that have been found.
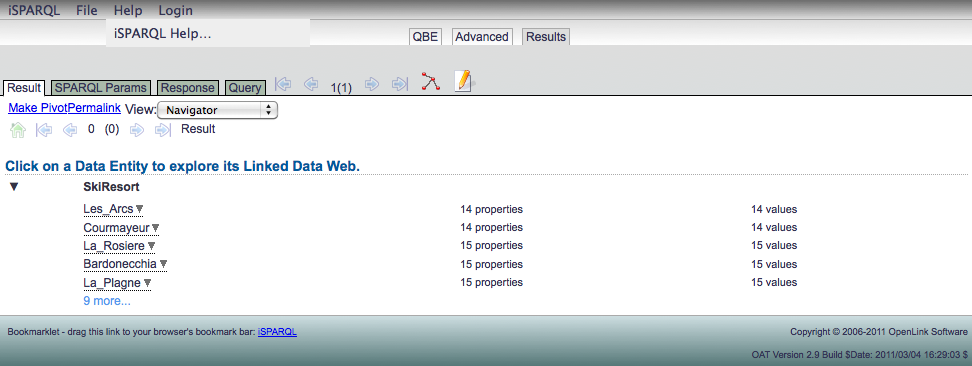
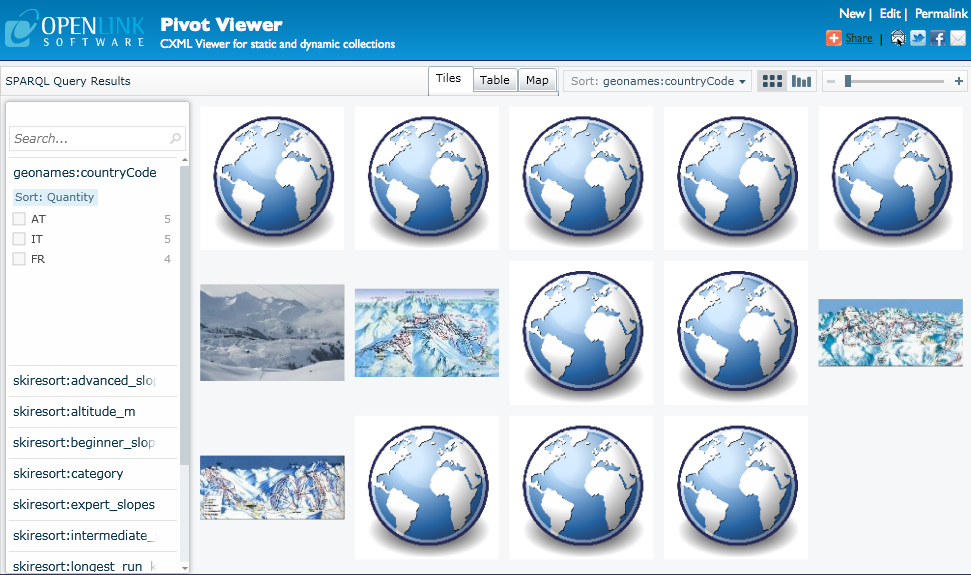
To make a pivot collection from these results, simply click on the Make Pivot link in the top left corner of the results pane.
This will open the link in the PivotViewer.
Related
- Additional PivotViewer Guide
- PivotViewer Demo Collections
- Linked Open Government-Oriented Demos
- General PivotViewer + Linked Data Demos
- SPARQL-FED (Distributed or Federated SPARQL)-based Dynamic CXML and PivotViewer Demos
- Demos where the SPARQL-based CXML generation includes QR Code generation
- BBC-specific Demos
- Various Meshups (not "Mashups," since these are driven by Linked Data, rather than by code)
- Linked Data-Driven eCommerce-Oriented PivotViewer Demos